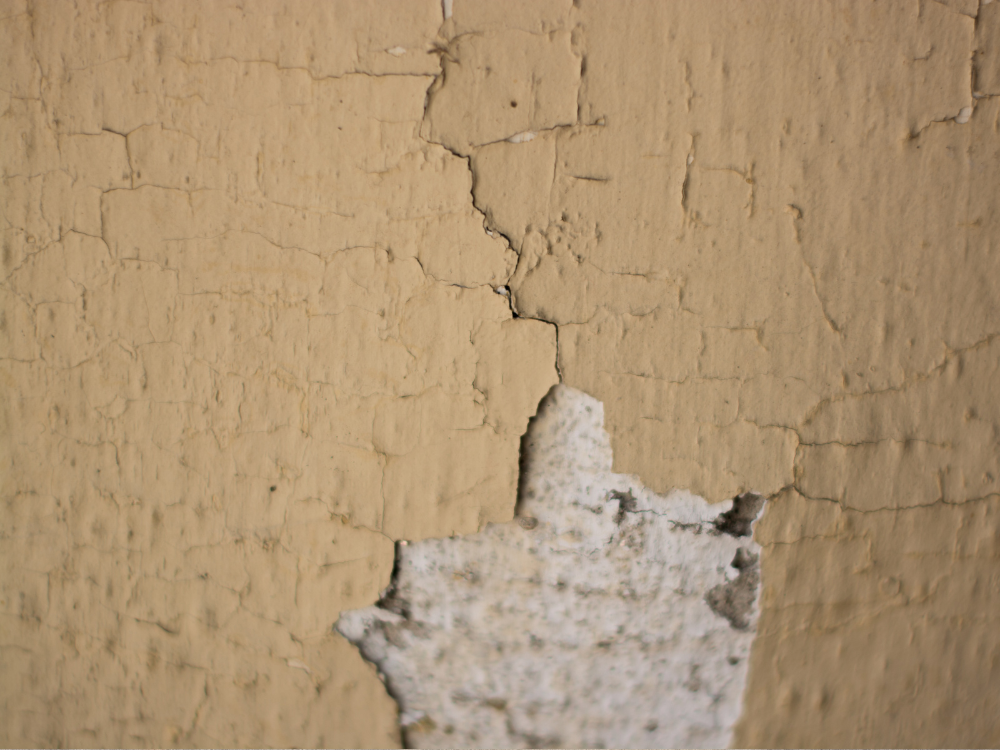
Imagine walking into a room and spotting flakes and cracks on your walls or ceiling. It’s frustrating, right?
Those unsightly patches don’t just make your space look worn—they can hint at bigger issues like moisture or skipped prep work.
Many Atlanta, GA, homeowners ask “How do we fix peeling paint and make sure it’s gone?”
Fixing peeling paint doesn’t have to be a major hassle! With a few simple steps and insider tips, you can get your walls to look fresh and flawless again. This guide will walk you through fixing peeling paint and ensuring it’s gone for good.
Key Takeaways:
- Learn how to fix peeling paint with a simple, effective process.
- Identify causes of peeling paint and tips to prevent it from returning.
- Discover the tools and materials needed to get a professional, long-lasting finish.

What Causes Peeling Paint? Common Culprits to Watch For
Peeling paint doesn’t just happen out of nowhere. Understanding the root cause of your paint troubles can make all the difference when you set out to fix peeling paint.
Here’s a quick look at common reasons why paint starts peeling:
1. Old Calcimine Paint
In older homes, you may find a layer of calcimine paint beneath the surface. This paint type doesn’t bond well with modern paints, leading to flakes and peeling.
2. Water Damage and Humidity
Moisture from water leaks, high humidity, or condensation weakens the bond between the paint and the wall. In these cases, learning how to fix peeling paint often means addressing the moisture issue first.
3. Too Many Layers of Paint
A heavy buildup of old paint layers can make surfaces prone to peeling, especially on ceilings. When you add new layers without removing the old ones, it can eventually start to crack and peel.
4. Poor Surface Preparation
If the wall wasn’t properly cleaned or primed before painting, the paint may peel sooner than expected. Fixing peeling paint means paying close attention to surface prep.
5. Dirty Surfaces
Dust, grease, and grime prevent new paint from bonding well. Cleaning the surface first is an essential step to avoid peeling paint in the future.
6. Sun and Heat Exposure
Sunlight and high temperatures can cause paint to break down and weaken its bond with the wall, eventually leading to peeling.
How to Tell If Your Paint Is Still Usable
Old or spoiled paint can cause even more issues down the line. Here’s how to check if it’s still good to use:
- Expiration Date: Look for an expiration date on the can. Latex paint typically lasts around 10-15 years, while oil-based can go up to 20 years.
- Odor Check: If the paint smells sour or foul, it’s best to get a fresh can.
- Stirring Test: Give it a good stir. If it doesn’t regain a smooth texture, it’s probably time to toss it.

Essential Tools and Materials to Fix Peeling Paint
These are the essentials we prepare to get your house painting project done right:
Equipment:
- Safety gear (mask, gloves, goggles)
- Plastic drop cloths
- Wire brush or paint scraper
- Putty knife
- Paintbrush or roller
Materials:
- Painter’s tape
- Patching compound
- Fine-grit sandpaper
- Primer
- New paint
How to Repair Peeling Paint: A Step-by-Step Guide
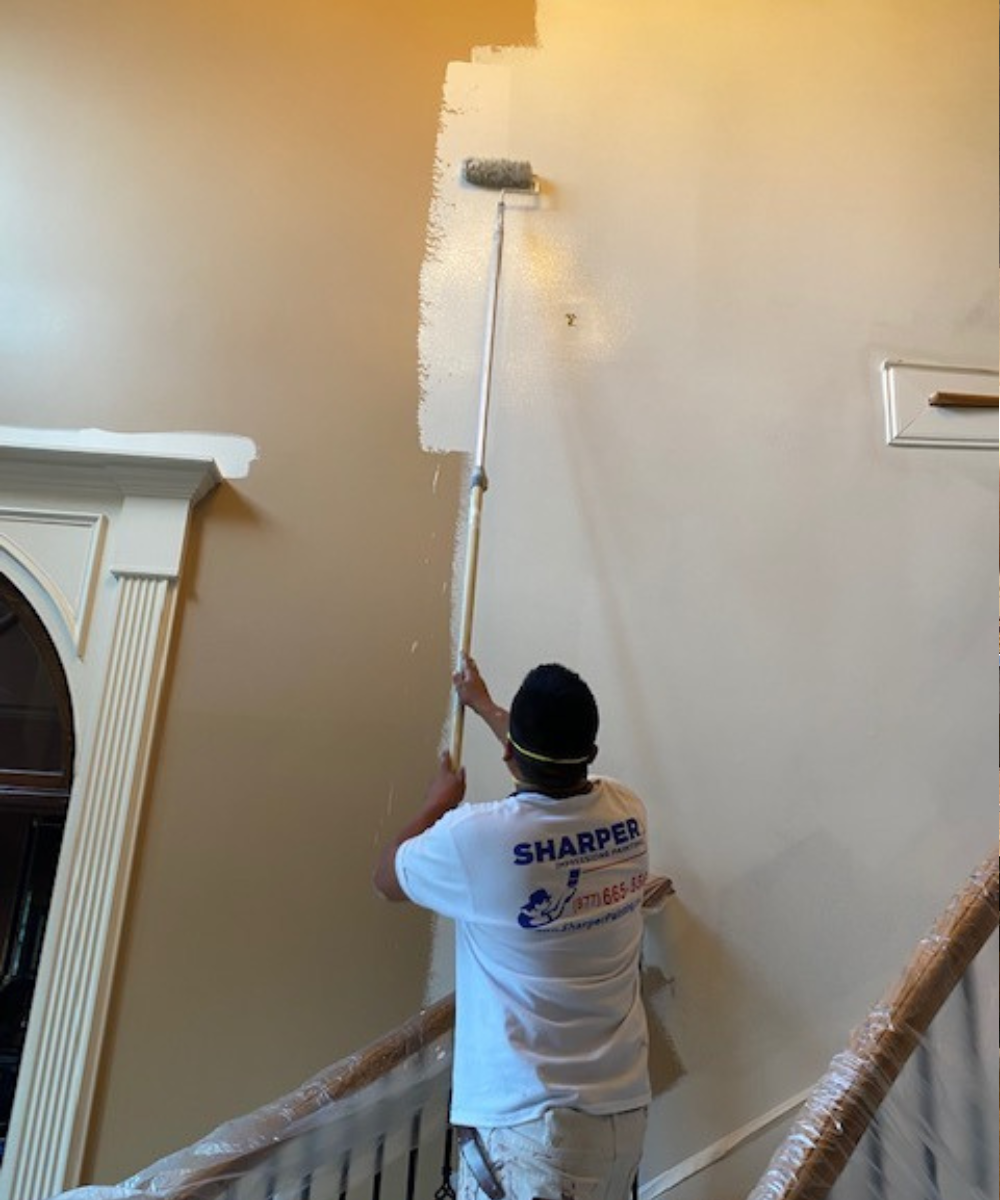
At Sharper Impressions Atlanta, we follow a precise method to fix peeling paint to ensure flawless and long-lasting repair. Here’s how we do it:
Step 1: Prepare the Area
We start by protecting your space. Plastic drop cloths are laid out to catch any loose paint, and painter’s tape is applied to protect trim. We move or cover furniture to keep everything safe from dust and splatters.
Step 2: Remove Peeling Paint
Our team carefully scrapes away loose paint using a wire brush or scraper, being mindful not to damage the wall underneath. This sets up a smooth foundation for the next steps.
Step 3: Patch Any Gaps or Cracks
We inspect the area for cracks or holes and fill them with a high-quality patching compound, ensuring every surface is even and ready for a professional finish.
Step 4: Sand the Surface
Light sanding comes next, smoothing any patched areas for a flawless look. This step is crucial in creating an even base for the paint to adhere to perfectly.
Step 5: Clean the Area
Dust and debris are carefully wiped away with a damp cloth, followed by a dry one to ensure the wall is spotless. A clean surface is essential for proper paint adhesion.
Step 6: Apply Primer
Primer is key, especially if moisture is a factor in the peeling. We use a high-grade primer to seal the area and help the new paint stick for the long haul.
Step 7: Repaint the Wall
Finally, we apply a fresh coat of premium paint, usually in two layers for maximum durability. Once dry, we remove the painter’s tape and perform a final cleanup, leaving you with a beautifully restored wall that’s made to last.
Final Thoughts
Understanding how to fix peeling paint can transform your home from looking worn-out to refreshed, and with the right approach, it’s easier than you might think. Seeking help from a professional painting service like Sharper Impressions Painting is often the smartest choice.
Not only does it save you time, but it also prevents costly mistakes that can arise when taking on a complex project alone. Serving Atlanta and nearby areas in GA, you’ll enjoy a seamless, durable finish that enhances the beauty and longevity of your home, making it well worth the investment.
If you’re ready for a fresh look, call us at 678-922-4970 for a FREE quote today!


