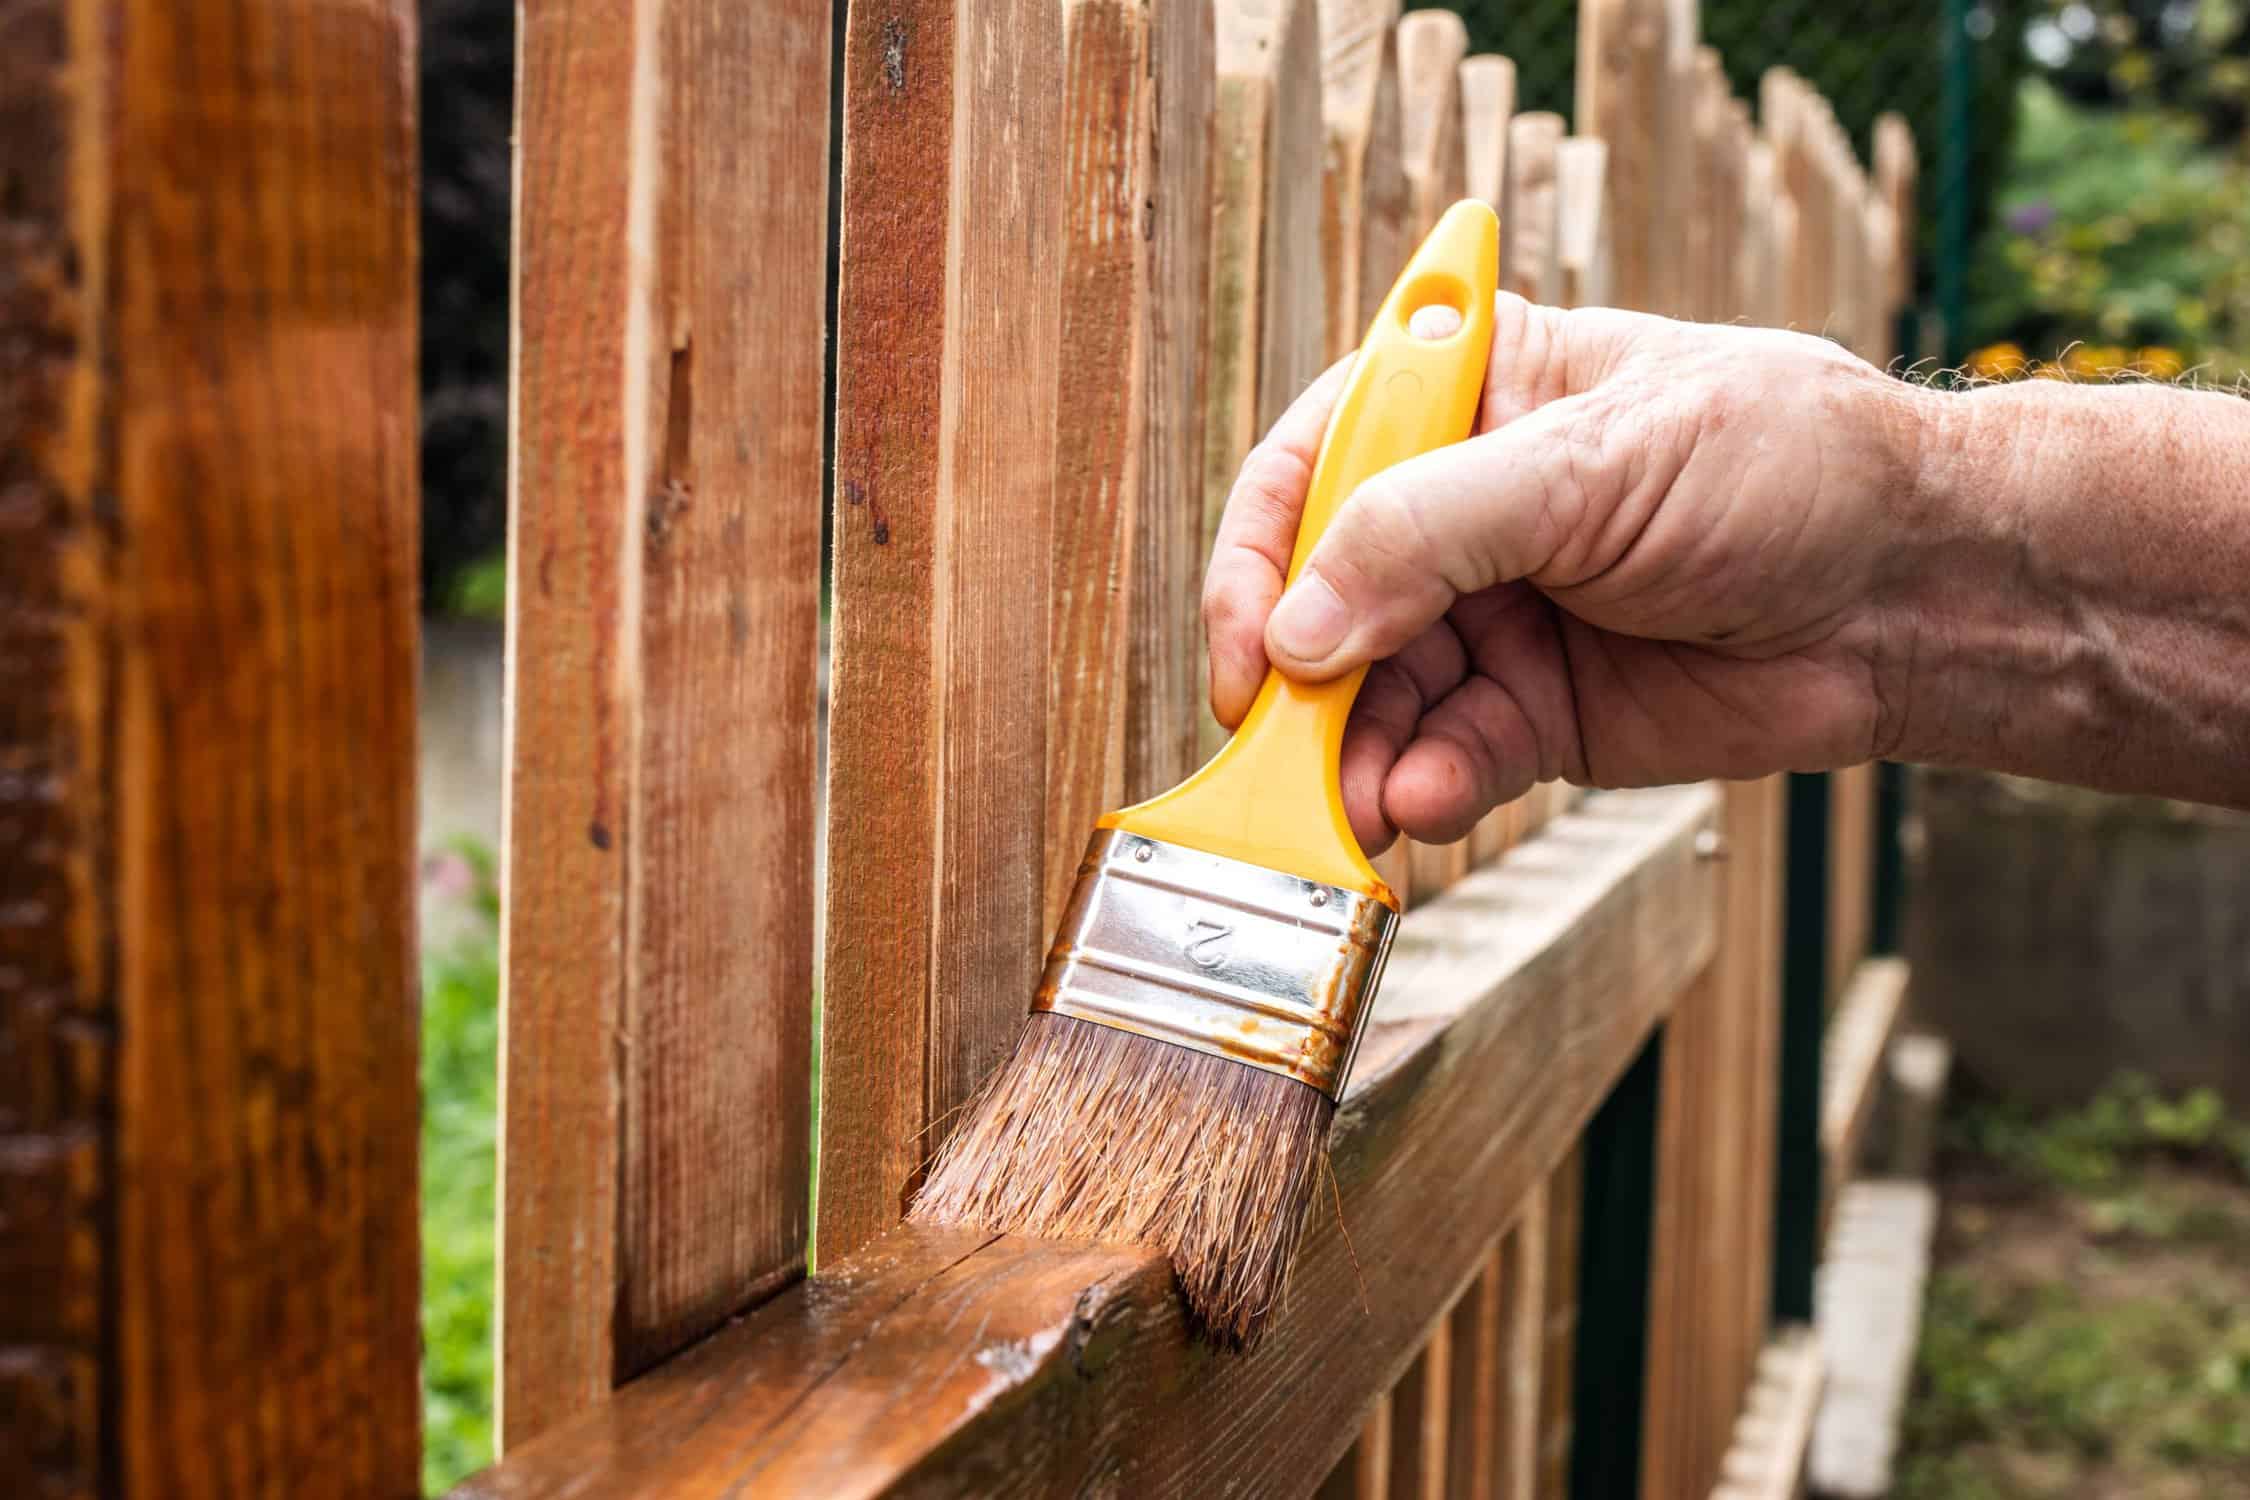
Trellis painting is a great way to refresh and protect your outdoor space. Whether you’re looking to brighten up your garden or add a pop of color to your home’s exterior, trellis painting can do wonders. If you want your trellis to look its best and last through the seasons, proper preparation and technique are key. In this guide, we’ll walk you through 8 essential steps to ensure your trellis painting project goes smoothly and delivers beautiful, lasting results.
Trellis Painting Guide
1. Choose the Right Paint for Trellis Painting
Selecting the right paint is the first step to a successful trellis painting project. You’ll want a paint that can stand up to the elements and hold up over time. For outdoor projects like trellises, opt for exterior paint that’s designed for wood, metal, or both. Look for paint with UV protection and weather resistance, so your trellis stays vibrant year-round.
2. Prepare the Surface Before Painting
The key to smooth and durable trellis painting is surface preparation. Start by cleaning your trellis with a stiff brush to remove dirt, debris, and old paint flakes. If your trellis has any mildew, scrub it with a mixture of water and bleach to kill the spores. After cleaning, sand the surface lightly to create a smooth texture that the paint can adhere to.
3. Repair Any Damage
Before you start painting, inspect your trellis for any damage, such as cracks, chips, or missing pieces. If you find any areas in need of repair, use wood filler or a patching compound. Fill any holes, cracks, or gouges, then smooth them with a sanding block. Once the repairs are dry, lightly sand the area to ensure it’s even with the rest of the surface.
4. Prime the Trellis
Applying a primer before painting is especially important if your trellis is made of wood or metal. Primer helps the paint stick better and improves the overall finish. For wood trellises, use a wood primer that’s compatible with outdoor surfaces. For metal trellises, select a rust-inhibiting primer. Allow the primer to dry completely before painting.
5. Choose the Right Painting Tools
To achieve a clean and professional look, use the right tools for the job. For trellis painting, a brush with synthetic bristles works best for wood, while a roller or spray gun can be used for larger metal trellises. Smaller areas may require a detailed brush to ensure the paint gets into the nooks and crannies of the trellis.
6. Apply the Paint in Thin Layers

When it comes to trellis painting, thin layers are better than thick coats. Applying several thin layers of paint ensures an even and durable finish. Start with the edges and corners first, then move to the larger areas. Be sure to let each coat dry fully before applying the next one.
7. Protect the Paint with a Clear Sealant
Once your paint has dried, consider applying a clear sealant to protect the finish. A clear sealant helps prevent fading, chipping, and water damage, extending the life of your paint job. Choose a matte, satin, or gloss finish depending on your desired look, and apply a thin, even coat. Here are some types of clear sealants to consider:
Types of Clear Sealants
- Matte Sealant: Provides a non-reflective, natural look while protecting the paint. It is ideal for achieving a more subtle, understated finish.
- Satin Sealant: Offers a slight sheen that gives the surface a soft glow, enhancing the color without being too shiny. It’s a popular choice for an elegant, durable finish.
- Gloss Sealant: Provides a high-shine finish that gives the surface a sleek, polished look. It also offers superior protection against water and UV damage.
- Polyurethane Sealant: Known for its strong durability, this sealant is excellent for wood trellises. It provides a clear, protective coating that resists scratches and scuffs.
- Acrylic Sealant: A flexible, water-resistant option for wood and metal trellises. It dries quickly and helps maintain the paint’s vibrancy over time.
Benefits: A protective sealant enhances the longevity of your paint job, keeping your trellis looking fresh and resilient against the elements.
Cons: Not using a sealant can leave your paint vulnerable to fading, chipping, or peeling.
8. Regular Maintenance and Touch-Ups
To keep your trellis looking its best, perform regular maintenance. Inspect your trellis every few months for signs of wear and tear, such as peeling paint or damage from the elements. Touch up any areas that need it to maintain a smooth, vibrant appearance.


