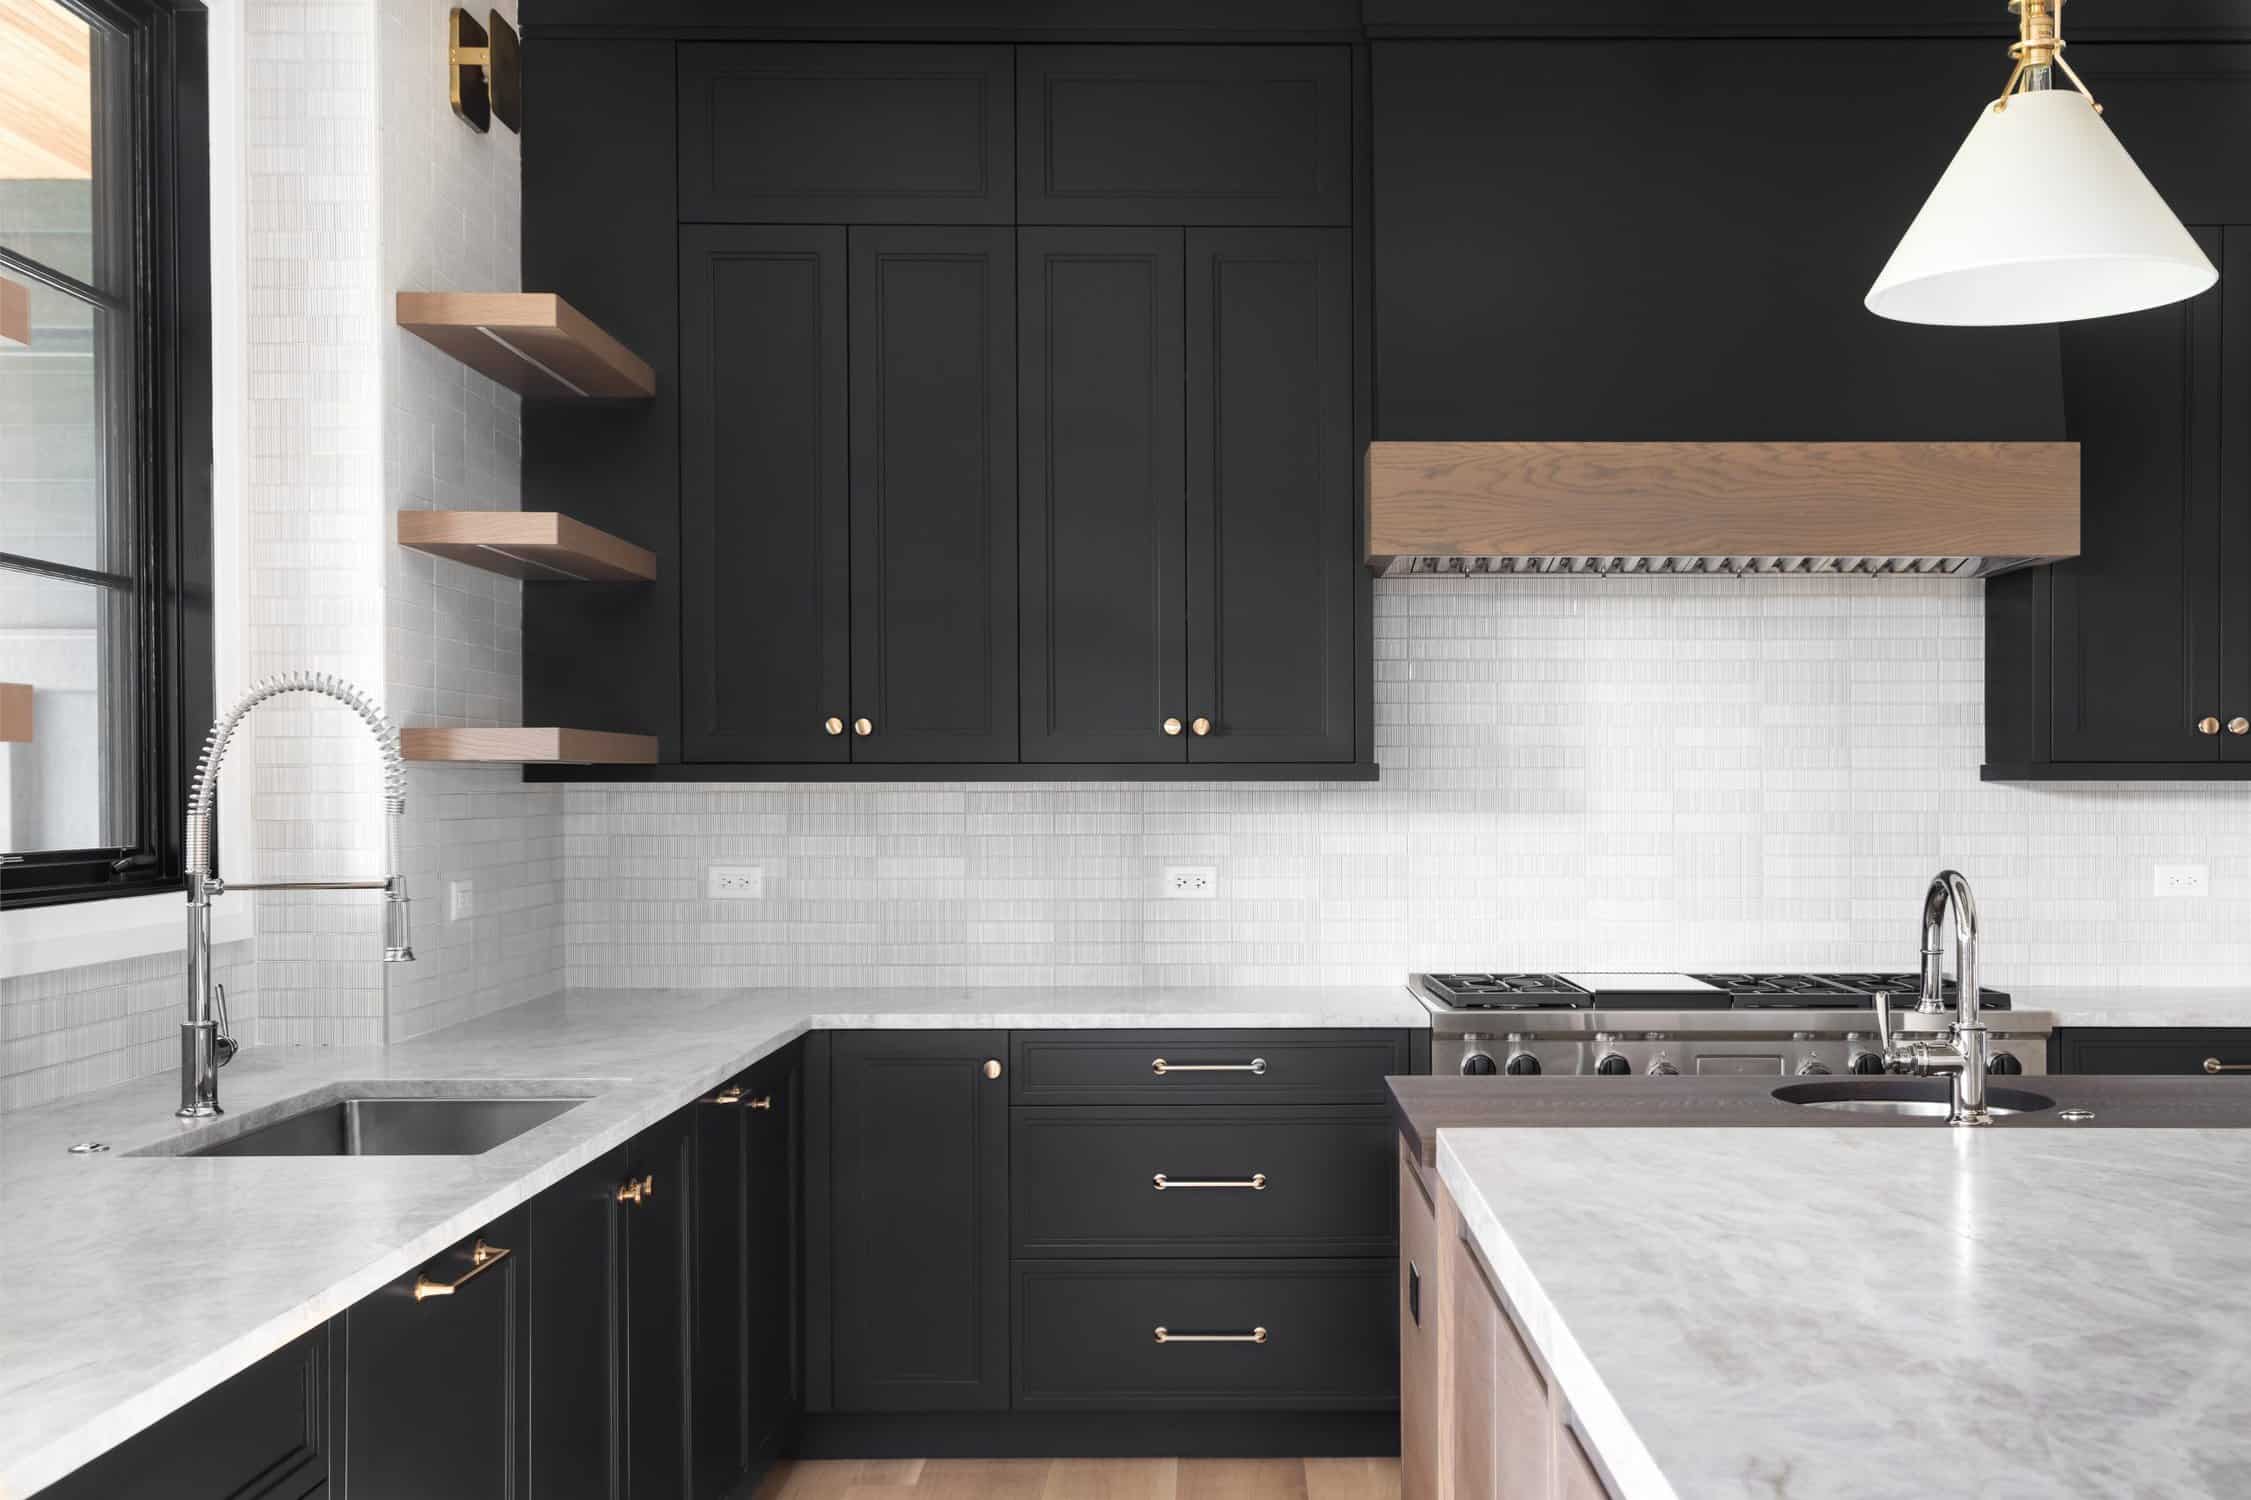
If you’re figuring out the steps for sanding cabinets as part of your cabinet painting in Overland Park, KS, you’re off to a strong start. Prepping cabinets the right way can make your kitchen or bathroom look brand new—and keep it that way. Sanding isn’t just a box to check; it’s what helps the paint stick, wear well, and look great.
After helping dozens of homeowners refresh their homes, I’ve learned that this part of the job sets the tone for everything else.
Key Takeaways
Steps for Sanding Cabinets: 5 Steps
Step 1: Clean First, Then Dry Thoroughly
Before sanding anything, you’ll want to scrub off all the grease, dust, and residue. Kitchen cabinets, especially, are magnets for cooking oil and fingerprints. That stuff can mess with your sanding and ruin how paint sticks.
Use a basic degreasing cleaner or some warm water mixed with TSP. Don’t forget to dry the surfaces completely. A little moisture can gum up your sandpaper and waste time.
Clean cabinets sand better, which leads to better painting results. I learned that the hard way on one of my first jobs—sanded over greasy wood and watched the paint peel within a month.

Step 2: Set Up Your Workspace Like a Pro
Now that your cabinets are clean, it’s time to prep the space. Take off all doors, drawers, handles, and hinges. Place hardware in labeled bags and tape notes on each cabinet part so everything goes back where it belongs.
Cover the counters, floors, and any nearby furniture. Drop cloths and painter’s plastic will save you from hours of cleanup. If you can set up outside or in the garage, even better. Less dust in the house.
This step might seem boring, but it keeps your project organized and on track.

Step 3: Pick the Right Grit and Tool for Every Surface
Not all sandpaper is created equal. To get through old finishes, start with 100- or 120-grit. Once the surface feels dull and even, switch to 150- or 180-grit for a smoother finish.
Cabinets with trim or tight corners? Use a sanding sponge. For wide, flat panels, a random orbital sander works best.
Let the tool do the work. Pushing down too hard only creates scratches or uneven spots. And please, don’t forget to vacuum or wipe down between each sanding round. Dust will ruin that fresh coat of paint.
Step 4: Sand Like a Cabinet Painter Would
To get smooth, long-lasting results, follow these expert tips:
These little moves add up to a better cabinet painting experience overall. And they’re exactly what a good cabinet painter would do.
Step 5: Inspect and Clean One Last Time
You’re nearly there. Before painting, take a minute to go over every surface. Feel for rough spots or areas you might have missed.
Vacuum up all the dust—especially from inside corners and hardware holes. Then, wipe down everything with a lint-free cloth or tack cloth.
This last cleanup step is where things shift from “decent” to “professional.”

Should You Tackle It Yourself or Hire a Pro?
Sanding cabinets takes time, patience, and a good amount of elbow grease. If you’re up for it, go for it. But if your cabinets have years of old finish, or you just want them done quickly and right, a professional cabinet painter can be a smart call.
Hiring a cabinet painter means no mistakes and better results. I’ve had clients call me after sanding themselves into frustration—it happens more than you’d think.
Let Sharper Impressions Kansas City Help You Out
If sanding cabinets sounds like more than you want to handle, you’re not alone. Sharper Impressions Kansas City handles cabinet painting from prep to final coat. Whether it’s your kitchen, laundry room, or bathroom cabinets, we take care of the sanding so you don’t have to.
We serve homeowners in Overland Park, Leawood, and Lenexa, KS, offering friendly service, clean results, and zero hassle.
Call 816-451-2404 today for a FREE estimate on your next cabinet painting project.


