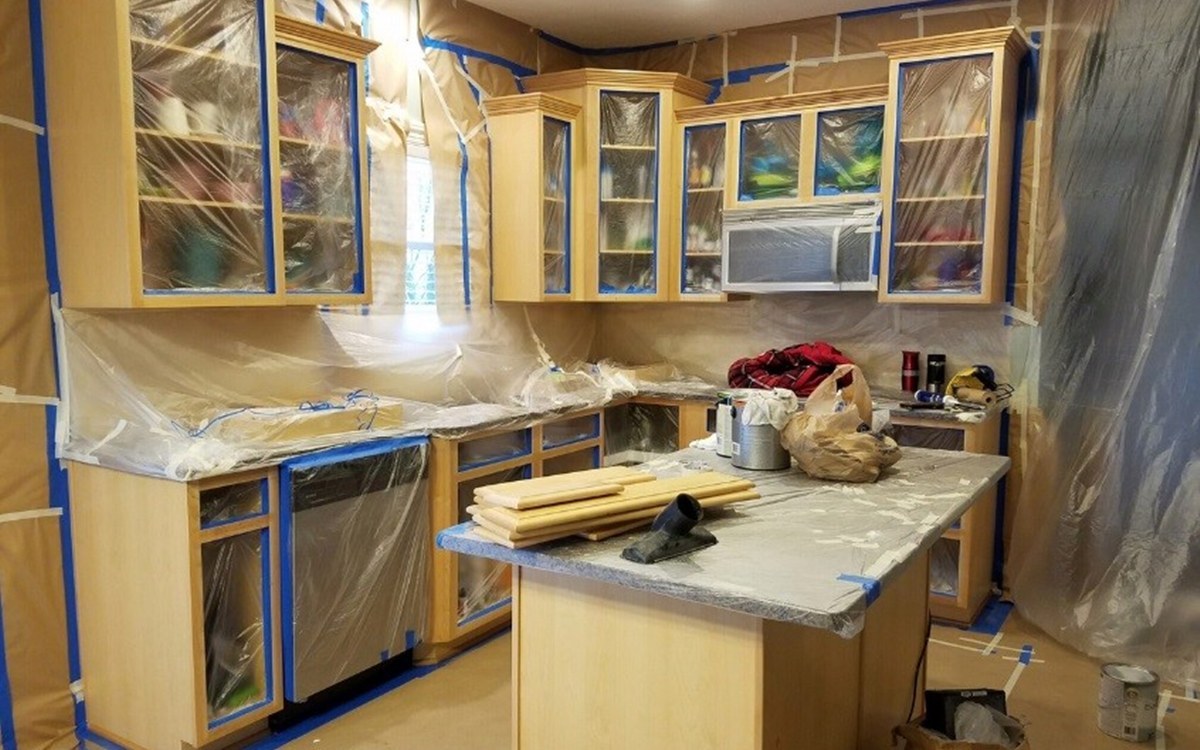
If you’re thinking about giving your kitchen a makeover, you might already be searching for cabinet painters or planning your DIY route. But before you break out the paint, there’s one make-or-break step that even seasoned DIYers sometimes overlook: how to clean cabinets before painting. Skipping this step can lead to chipping paint, streaky finishes, and a whole lot of regret.
Key Takeaways:
- Cleaning cabinets thoroughly is essential before painting
- Grease, grime, and residue can prevent paint from sticking
- Use the right tools and cleaning solutions for best results
- Sanding and priming only come after a deep clean
- You don’t need fancy products—just the right process

Why Cleaning Before Painting is a Must
You wouldn’t frost a cake before it cools, right? Painting dirty cabinets is basically the same idea. No matter how amazing your paint or how skilled your brushwork, dirty surfaces lead to paint that won’t stick properly. Grime, oils, and residue act like a barrier between your cabinets and that smooth, dreamy finish.
What Happens If You Don’t Clean Cabinets First?
If you skip cleaning your cabinets before painting, you could face more than just a minor inconvenience. Here’s what could go wrong:
- Peeling and Chipping: Paint can flake off easily if it doesn’t bond properly to the cabinet surface. Grease and grime act as a barrier, preventing the paint from adhering the way it should.
- Uneven Finish: Leftover dirt or residue causes an inconsistent surface that leads to blotchy, streaky, or dull paint jobs. No matter how many coats you apply, the finish won’t look smooth.
- Wasted Time and Money: All your prep, priming, and painting could go to waste if the paint starts failing. In many cases, you’ll need to strip everything down and start over—or hire professional help to fix the mess.
Step-by-Step: How to Clean Cabinets Before Painting
Let’s get into the nitty-gritty of how to clean cabinets before painting so your final result looks flawless.
1. Remove Cabinet Doors and Hardware
Take off the doors, drawers, and all hardware (handles, knobs, and hinges). This makes cleaning easier and ensures you don’t miss any grime.
2. Label Everything
As you take things apart, label each door and drawer so you know where everything goes later. Trust us—you’ll thank yourself later.
3. Vacuum First
Before getting anything wet, use a vacuum with a brush attachment to remove loose debris, crumbs, or dust.
4. Degrease Like a Pro
Use a heavy-duty degreaser, like TSP (trisodium phosphate), or a DIY mix of vinegar and dish soap. Focus on areas around handles and near the stove—these spots tend to collect the most grease.
Pro Tip: Let the solution sit for a few minutes before scrubbing with a sponge or scrub brush.
5. Rinse and Dry Thoroughly
Wipe down all surfaces with clean water to remove any leftover cleaner. Then, dry completely with a lint-free towel. Moisture can mess with paint adhesion.
6. Inspect Your Work
Run your hand over the surfaces. If it feels smooth and squeaky clean, you’re ready. If it feels greasy or tacky, go another round.

Optional: Light Sanding After Cleaning
Once your cabinets are clean and dry, the next step is to lightly sand them. This helps scuff up the surface just enough to give primer and paint something to grip onto, ensuring better adhesion and a longer-lasting finish. Use a fine-grit sandpaper—typically 120 to 150 grit is ideal—and gently go over all cabinet surfaces, especially those that are glossy or slick.
Make sure to wipe away any sanding dust with a tack cloth or a damp microfiber cloth before moving on to priming. Any lingering dust can interfere with the primer’s ability to bond. But remember—clean first, then sand. Never reverse the order, or you’ll just be grinding grease and residue deeper into the wood.
Common Mistakes to Avoid
Even with the best intentions, a few common mistakes can ruin an otherwise perfect cabinet-painting job. Be sure to avoid these pitfalls:
- Using all-purpose cleaner that leaves residue: Not all cleaners are created equal. Many all-purpose cleaners leave behind a film that can prevent primer and paint from sticking. Always use a degreaser specifically designed for pre-paint prep.
- Not letting cabinets dry fully: Painting on damp surfaces is a recipe for disaster. Moisture can get trapped under the paint, leading to bubbling, peeling, or mildew. Make sure every surface is completely dry before you move on.
- Forgetting hidden edges and corners: It’s easy to focus on the flat, visible areas and miss those tight spots. But corners and edges collect grease and grime too, and skipping them can cause paint to lift or flake.
- Rushing through greasy spots: Some areas—especially near the stove or sink—are more stubborn than others. Don’t just give them a quick once-over. Spend extra time scrubbing these areas to ensure a clean, paint-ready surface.
Final Thoughts
Learning how to clean cabinets before painting might not be the most glamorous part of a kitchen makeover, but it’s the foundation of a great result. Clean surfaces mean better adhesion, longer-lasting paint jobs, and fewer do-overs.
So take the time. Your future self—and your cabinets—will thank you.
Need Help With Your Cabinets?
You’ve done your homework, and now it’s time to take the next step toward a kitchen you truly love. Whether you’re a hands-on DIYer or someone who prefers to let the pros take over, Sharper Impressions Nashville is here to help.
We specialize in transforming tired, outdated cabinets into stunning focal points that breathe new life into your home. With a meticulous eye for detail and a passion for craftsmanship, we make the process stress-free and results-driven.
Call us today at 615-437-4358 to schedule your consultation. Let’s make your dream kitchen a reality—starting with a flawless foundation.


