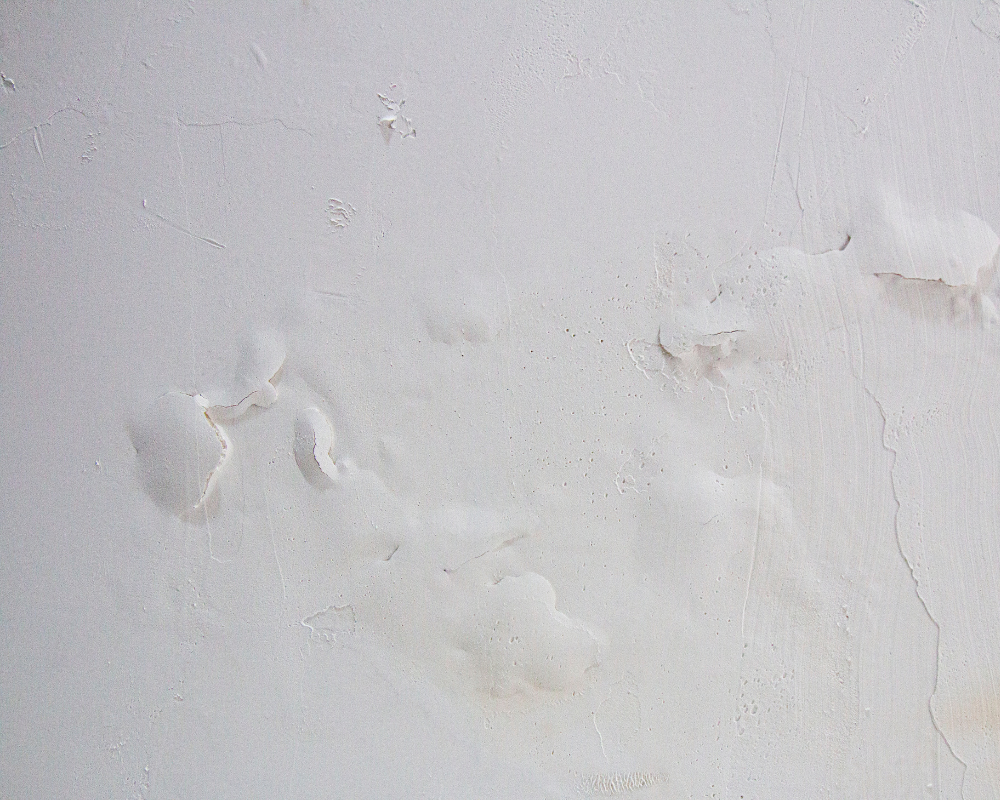
Have you ever noticed small bubbles or blisters appearing on your walls? This can be a frustrating issue, especially if you’ve just invested time and effort into painting. But what causes paint to blister in the first place?
In areas like Brentwood, TN, the climate—characterized by hot summers and fluctuating humidity levels—plays a significant role. Knowing why paint blisters and how to prevent them can save you from constant maintenance and ensure your home stays fresh.
Key Takeaways:
- Learn what causes paint to blister and how to keep it from happening again.
- Common causes include moisture, heat, low-quality paint, and improper application techniques.
- You can protect your walls from bubbling and peeling by using high-quality materials and correct techniques.

What Causes Paint to Blister?
It’s essential to understand the common causes before starting your house painting project. Paint blisters are formed when the top layer of paint loses adhesion, often because of trapped air or moisture between the paint film and the surface.
Here’s a breakdown of common reasons why paint blisters:
➥ Moisture Problems
The most common answer to what causes paint to blister is moisture. If walls or surfaces are damp when painted or if there is high humidity in the air, moisture can get trapped beneath the paint layer. Summer humidity can be intense, so it’s crucial to allow surfaces to dry fully before painting. As trapped moisture tries to escape, it pushes against the paint, leading to bubbling and blistering.
➥ Hidden Leaks
Leaks from your roof, windows, or pipes can introduce moisture into your walls. If blisters appear near the ceiling, around windows, or along plumbing lines, there could be a hidden leak causing the issue. Addressing these leaks is essential; otherwise, paint blisters will return even after repainting.
➥ Using Low-Quality Paint or Incorrect Application
A common mistake that leads to blistering is using low-quality paint or not following proper application methods. Budget paints lack the strong binders needed for adhesion, making them prone to bubbling. Similarly, applying thick layers of paint or not allowing each coat to dry completely can trap air beneath the surface, leading to blistering.
➥ Painting in Extreme Heat or Sunlight
Hot, sunny days can also contribute to what causes paint to blister. When paint dries too quickly due to high temperatures, solvents evaporate unevenly, trapping air pockets. This is particularly common if you paint during peak midday heat. For best results, paint in the early morning or late afternoon to prevent heat-related blisters.
➥ Incompatible Paint Types
If you switch from oil-based to latex paint without a proper primer, you might see blisters. Latex paint won’t adhere well to an oil-based layer without priming, leading to poor adhesion and blistering. Using a primer helps create a smooth transition between different paint types.
➥ Over-Thinning the Paint
While thinning paint can help with smoother application, over-thinning weakens its adhesive strength. This makes it more susceptible to blistering as air can get trapped beneath the layer as it dries. Be sure to follow manufacturer guidelines for thinning to avoid issues.
How to Fix Paint Blisters?
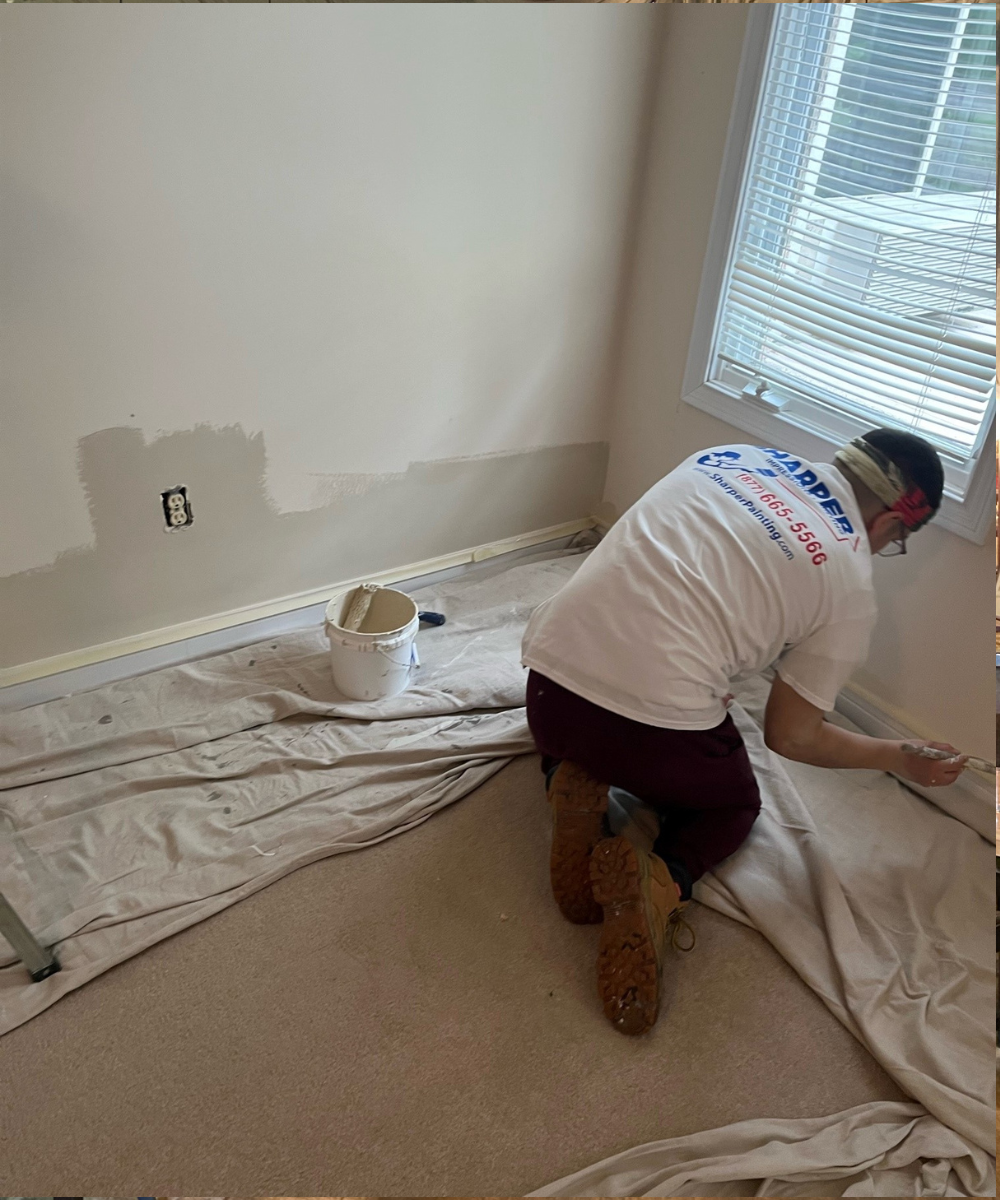
Our team at Sharper Impressions Painting understands what causes paint to blister and has a systematic approach to address it effectively:
Step 1: Remove Damaged Paint
We begin by scraping away all blistered paint to prepare the area for a fresh, secure coat. This step ensures that the new paint will adhere properly, as any remaining damaged paint could cause future blisters and peeling.
Step 2: Smooth and Clean the Surface
Sanding and cleaning create an ideal surface for new paint, reducing the chance of future blisters. A smooth surface allows the paint to bond evenly, while thorough cleaning removes any dust, dirt, or oils that might interfere with adhesion.
Step 3: Identify the Underlying Cause
From moisture to poor ventilation, we find the root of the problem to prevent it from recurring. By addressing these underlying issues, such as fixing leaks or improving airflow, we make sure the new paint job will stay intact without facing the same blistering problems.
Step 4: Apply a High-Quality Primer
Priming ensures that new paint bonds well and shields the surface from potential blistering. The primer creates a protective layer, helping the paint adhere better and preventing issues caused by surface inconsistencies or previous paint types.
Step 5: Repaint with Precision
Applying thin, even coats of premium paint reduces the risk of bubbles, ensuring a smooth, long-lasting finish. Each layer is allowed to dry fully before the next is applied, which minimizes trapped air or moisture and enhances the overall durability of the paint job.

How to Prevent Paint Blisters in the Future
☑ Prep Surfaces Correctly: Clean and dry surfaces are crucial for proper paint adhesion.
☑Use High-Quality Paint: Better paints withstand temperature changes and humidity better than cheap alternatives.
☑ Paint in Optimal Conditions: Avoid painting in direct sunlight or extreme heat; instead, choose cooler parts of the day.
☑ Apply Thin, Even Coats: Layering on thick coats is a recipe for trapped air, so keep it thin and smooth for best results.
Final Thoughts
Understanding what causes paint to blister can save time and money by helping you avoid repeated paint jobs and unsightly bubbling. Taking preventative steps early on, like choosing the right paint and prepping surfaces properly, can make a big difference in maintaining a beautiful, durable finish.
At Sharper Impressions Nashville, we go beyond simply covering blisters—we tackle the root causes. Starting with careful paint removal and surface prep, we address any underlying issues before applying a quality primer. Our final step is a precise repaint, ensuring a smooth, long-lasting finish that keeps your home looking flawless.
Call us today at 615-437-4358 for a FREE quote, and let’s ensure your walls stay blister-free and beautiful!


