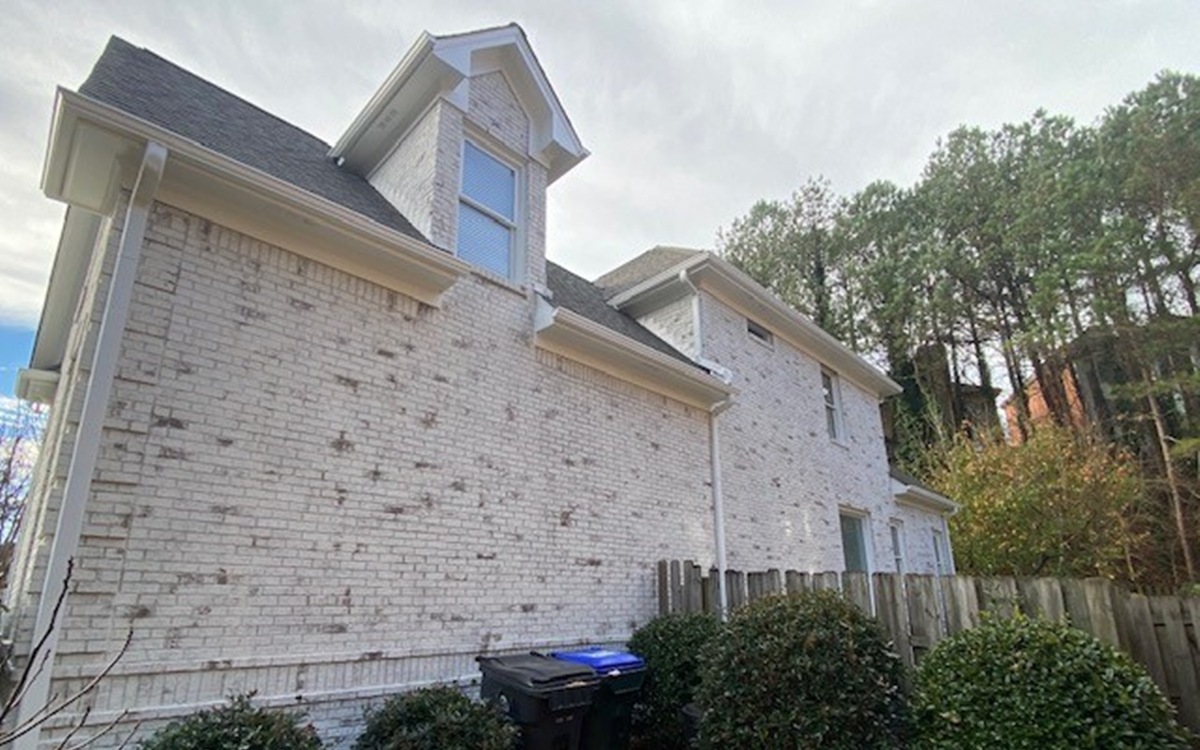
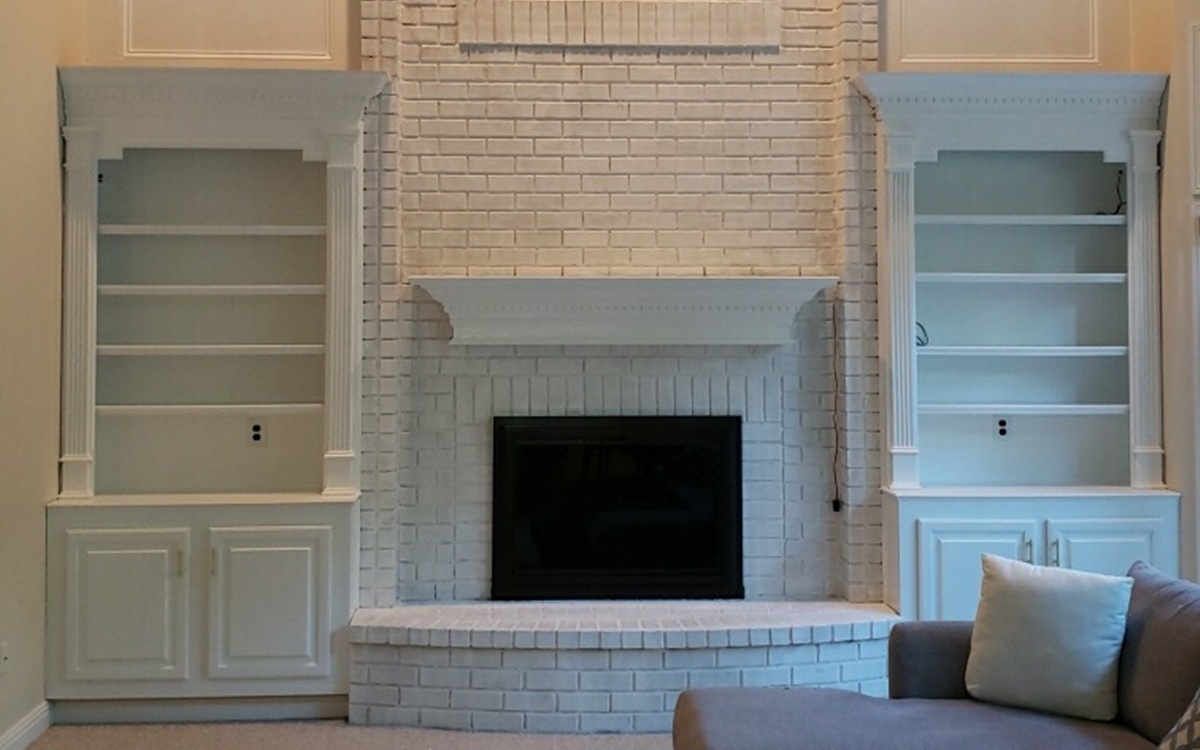
Imagine walking up to your home and being greeted by walls that whisper history, elegance, and natural beauty. That’s the magic professional limewash painters can create for you! The limewash painting process is a timeless technique that breathes life and authenticity into your space while offering durability and a uniquely soft finish.
Wondering what happens while we tackle a professional limewash painting project? Read on because you’re about to get a behind-the-scenes look at how skilled hands and natural materials come together to completely transform your home.
Key Takeaways:
- Limewash is a breathable, eco-friendly paint made from crushed limestone.
- Professional limewash painters prepare surfaces carefully to ensure lasting results.
- The limewash painting process involves multiple coats, drying time, and specific weather conditions.
- It creates a soft, matte, textured look that ages beautifully.
- Proper aftercare and maintenance can extend the life of your limewashed walls.

What Is Limewash Paint?
Limewash is made from natural lime and water, sometimes with added pigments for color. Unlike regular paint, it penetrates the surface rather than sitting on top of it. This allows walls to breathe, reducing the risk of mold or mildew—making it perfect for older homes and brick exteriors.
The Benefits of Hiring Professional Limewash Painters
While limewash might seem simple, it requires skill to apply properly. Professionals understand the exact mix ratios, know how to prep a variety of surfaces, and are trained in layering techniques that create that signature cloudy, variegated finish. They also know how to time the work with the weather—since limewash doesn’t react well to extreme temperatures or moisture.
Step-by-Step Breakdown of the Limewash Painting Process
Understanding how the limewash painting process works can help you feel more confident and prepared. Here’s how the professionals handle it from start to finish:
1. Initial Consultation
The process begins with a personal visit from your painter. They’ll learn about your design preferences, inspect the surfaces you want limewashed, and help you choose from a range of color options. This is also when any necessary prep work like cleaning or minor repairs is identified, so the application goes smoothly later on.
2. Surface Preparation
The process begins with a personal visit from your painter. They’ll learn about your design preferences, inspect the surfaces you want limewashed, and help you choose from a range of color options. This is also when any necessary prep work like cleaning or minor repairs is identified, so the application goes smoothly later on.
3. Mixing the Limewash
Limewash isn’t a one-size-fits-all product. It’s typically mixed on-site to suit the unique needs of your home and the day’s conditions. Professionals fine-tune the mixture’s thickness and may add pigments to get the perfect shade. This tailored approach helps ensure an even application and that signature layered, cloudy texture.
4. Application
The first coat is carefully brushed or sprayed onto the surface. Because limewash is designed to sink in—not sit on top—it takes a practiced hand to get it right. After letting it dry thoroughly, painters will assess the look and apply additional coats as needed to build up the depth and texture you want.
5. Drying and Curing
This stage is all about patience. Limewash needs time to properly cure, and that timing depends on the day’s humidity, temperature, and airflow. Rushing this step can lead to a patchy finish, so pros will give it the time it needs to set fully and evenly.
6. Touch-Ups and Final Inspection
Once the limewash has cured, your painter will go over the walls to fix any small blemishes or inconsistencies. Then, they’ll walk you through the finished project, explaining how to care for the new surface and ensuring everything meets your expectations before they pack up their tools.

Common Questions Homeowners Ask
Will the limewash fade?
Yes, but beautifully. It develops a patina over time, which adds to its charm. If you prefer a fresher look, a touch-up can be done every few years.
Can it be used indoors?
Absolutely. Limewash works on interior plaster, drywall, or masonry. It’s especially popular for fireplaces and feature walls.
How long does it last?
With proper application and care, limewash can last 5-7 years or more, depending on exposure.
Aftercare Tips for Homeowners
Taking care of your limewashed walls is simple but important. A little attention goes a long way in preserving their beauty and extending their life.
- Avoid harsh cleaners. Limewash is a delicate finish, and strong chemical cleaners can strip or discolor the surface. Instead, gently wipe with a soft, damp cloth to remove dust or minor stains.
- Check for areas that may need a light refresh every couple of years. Over time, some fading or wear is natural. Spot-touching these areas with a fresh coat of limewash helps maintain a uniform look.
- Keep gutters and downspouts clear to prevent water damage. Excess moisture running down limewashed walls can lead to staining or premature deterioration. Regular gutter maintenance protects the finish and structure of your home.
Final Thoughts
Choosing professional limewash painters ensures you get a finish that not only looks great but also performs well over time. The limewash painting process involves both art and science, and when done right, it can completely transform your home’s character.
Your home deserves more than ordinary paint—it deserves a finish that tells a story. Let Sharper Impressions Nashville help you uncover the charm of limewash with expert guidance and flawless results. Call us at 615-437-4358 to schedule your personalized consultation today. We can’t wait to help you bring your vision to life!


