Painted cabinets add charm and elegance to any home, but they’re also one of the most used and abused surfaces in your kitchen. Over time, daily wear and tear lead to chips, scratches, scuffs, and worn edges—making once-pristine cabinets look old and neglected.
This guide will answer all these questions and more. You’ll learn:
- How to choose the best touch-up kit for your painted cabinets.
- Step-by-step instructions for achieving a professional-looking touch-up.
- When it’s time to skip the DIY and call a pro for cabinet refinishing.
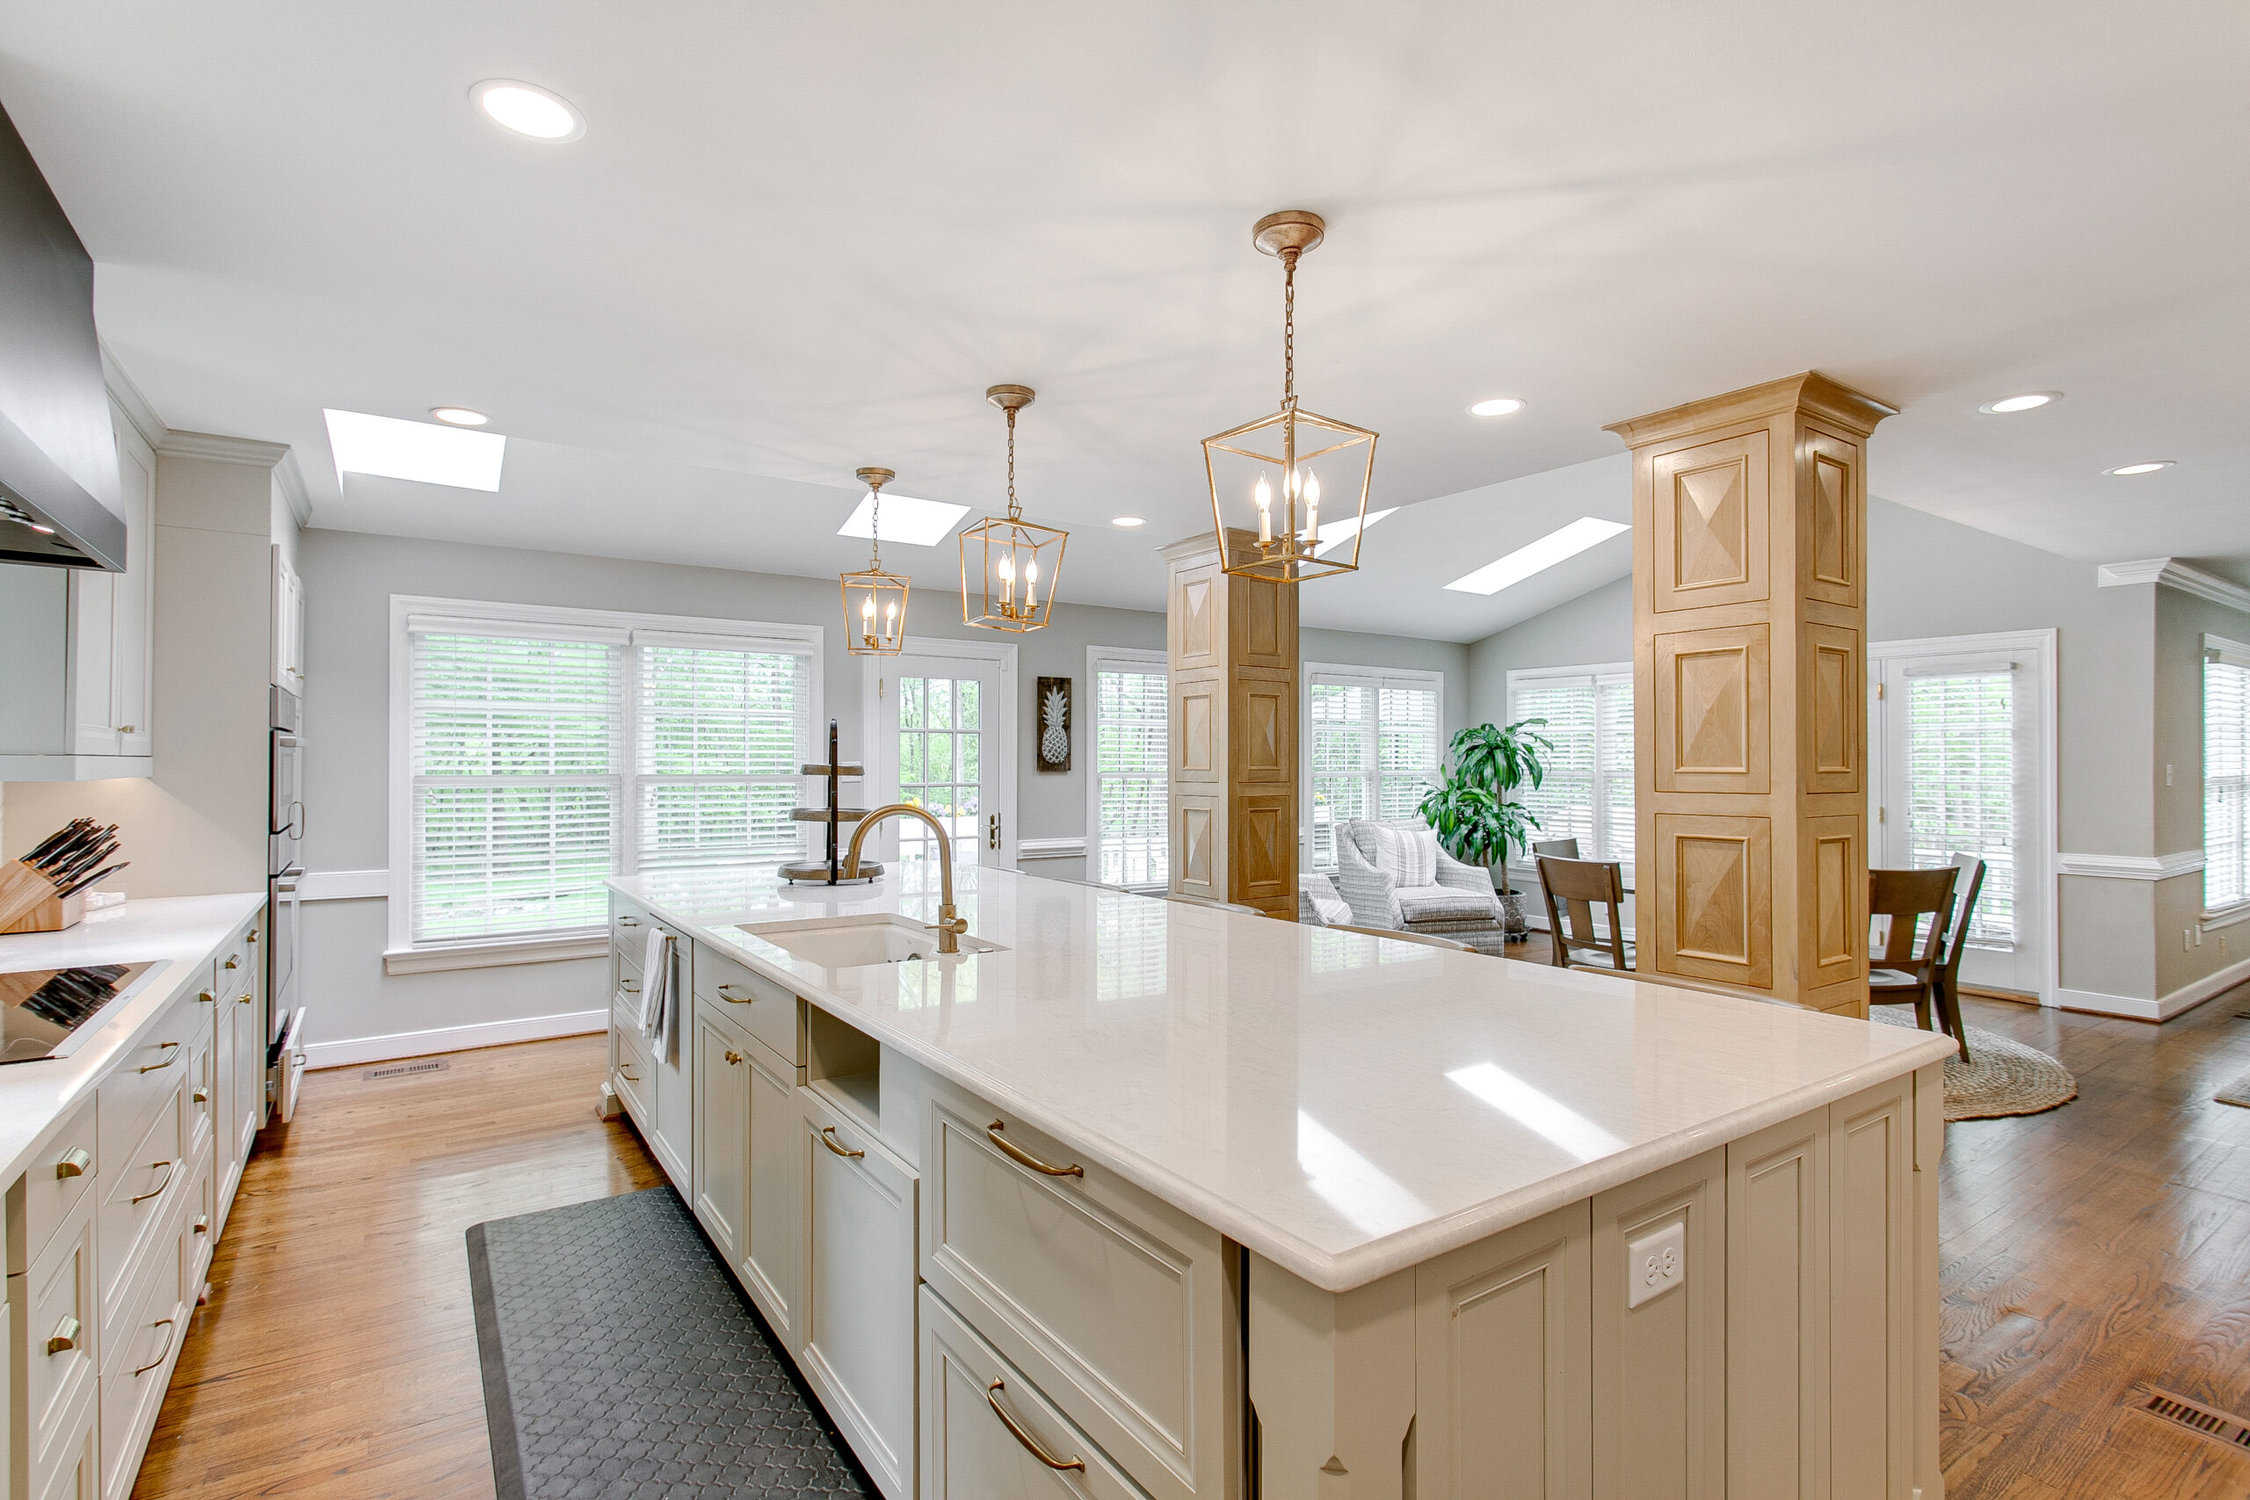
Why Touch-Up Kits Are Essential for Painted Cabinets
![]()
The Reality of Cabinet Wear and Tear
Your cabinets go through a lot every day, and it’s no surprise they start showing signs of damage.
Common causes of cabinet damage:
- Daily use: Opening and closing doors causes paint to wear down, especially around handles.
- Cooking and moisture: Grease, steam, and spills gradually break down the finish.
- Accidental impacts: Pots, utensils, and cleaning tools can leave dents and scratches.
Ignoring small imperfections can lead to bigger problems:
- Tiny chips allow moisture to seep in, leading to peeling paint.
- Scratches expose bare wood, making it vulnerable to staining and rot.
- Minor damage makes cabinets look older and more worn than they actually are.
How Touch-Up Kits Save Time and Money
A simple touch-up on painted cabinets can restore their look without the expense of a full refinishing job. Small repairs help prevent further damage, extending the life of the paint and protecting the cabinet surface. Addressing minor chips and scratches early keeps wear from spreading, saving homeowners from costly repaints.
Beyond durability, touch-ups refresh the overall appearance of a kitchen or bathroom with minimal effort. A well-matched repair blends seamlessly, keeping cabinets looking polished and well-maintained without a major renovation.
What to Look for in a Cabinet Touch-Up Kit
![]()
Not all touch-up kits are created equal. Here’s what to consider when choosing one:
Key Features to Consider
Color Matching:
- Look for kits with multiple shades or custom blending options.
- Some brands offer stain markers and wax sticks for more flexibility.
Durability:
- Choose water-resistant, long-lasting touch-up products.
- A built-in sealer helps protect the repair.
Ease of Application:
- Fine-tip brushes and markers allow precise application.
- Avoid thick paints that dry unevenly or look clumpy.
Different Types of Touch-Up Kits
| Type | Best For | Pros | Cons |
|---|---|---|---|
| Paint Pens/Markers | Small scratches, fine lines | Easy to use, precise application | Limited color selection |
| Wax Fill Sticks | Small chips, minor gouges | No drying time, smooth finish | Less durable than paint |
| Touch-Up Paint Kits | Large chips, deeper scratches | Long-lasting, professional finish | Requires proper blending |
| All-in-One Kits | Multiple types of damage | Complete solution with various tools | Higher cost |
Top Touch-Up Kits for Painted Cabinets (Reviews & Recommendations)
Best Overall: Mohawk Fil-Stik & Blendal Stain Kit
Why it’s great:
- Includes both wax sticks and stain markers for seamless blending.
- Comes in various shades to match different cabinet colors.
- Easy application with no drying time.
Best for: Homeowners who want a quick and effective fix for small chips and scratches.
Best for Color Variety: Katzco Furniture Repair Kit
Why it’s great:
- Offers six different marker colors for precise color matching.
- Works on both light and dark cabinets.
Best for: Minor scuffs and scratches in high-traffic areas.
Best for Large Chips: DAIXI Wood Furniture Repair Kit
Why it’s great:
- Includes touch-up paint and putty for filling deeper chips.
- Dries fast and blends smoothly with most cabinet finishes.
Best for: Noticeable paint chips and deeper scratches that need a solid, lasting repair.
Best Budget-Friendly Option: Rejuvenate Wood Furniture & Floor Repair Markers
Why it’s great:
- Affordable and widely available.
- Works well for light surface scratches and scuffs.
Best for: Quick, low-cost fixes on cabinets that don’t need major work.
Step-by-Step Guide: How to Use a Touch-Up Kit for Best Results
Preparation: Setting Yourself Up for Success
Proper prep work ensures your painted cabinets look seamless after a touch-up. Start by cleaning the damaged area with a mild soap and a damp cloth to remove dirt, grease, and residue. This helps the touch-up paint adhere properly.
Before applying anything to visible areas, test the color in an inconspicuous spot to confirm a good match. Lighting and sheen can affect how the paint blends with the rest of the surface.
Gather the right tools to achieve a professional-looking result:
- Fine-tip brush or marker for precision
- Soft cloth for blending and wiping excess
- Clear topcoat (optional) to protect the repair and improve durability
How to Fix Different Types of Cabinet Damage
Small Scratches (Use a Touch-Up Marker or Wax Stick)
- Choose the closest color match from your kit.
- Lightly apply the marker or wax stick over the scratch, following the grain of the wood.
- Wipe away any excess with a soft cloth to blend the repair.
Chipped Paint (Use Touch-Up Paint or Wax Filler)
- Use a fine brush or sponge to dab touch-up paint onto the chipped area.
- Allow the first coat to dry for 30-60 minutes before applying a second coat if needed.
- Lightly buff the edges with a soft cloth to blend the touch-up with the surrounding paint.
Deeper Scratches or Gouges (Use Putty or Filler Sticks)
- Fill the damaged area with wax or putty from your kit, smoothing it out with a plastic scraper or finger.
- Let it set completely before applying a stain marker or touch-up paint to match the surrounding finish.
Sealing and Protecting the Repair
Once the touch-up is complete, apply a clear topcoat or sealant to improve durability and prevent future wear. This is especially important for high-traffic areas like kitchen cabinets.
For best results, avoid cleaning the repaired area with harsh chemicals for at least 24 hours. This allows the paint or filler to fully cure, ensuring a long-lasting finish.
Common Mistakes to Avoid When Touching Up Cabinets
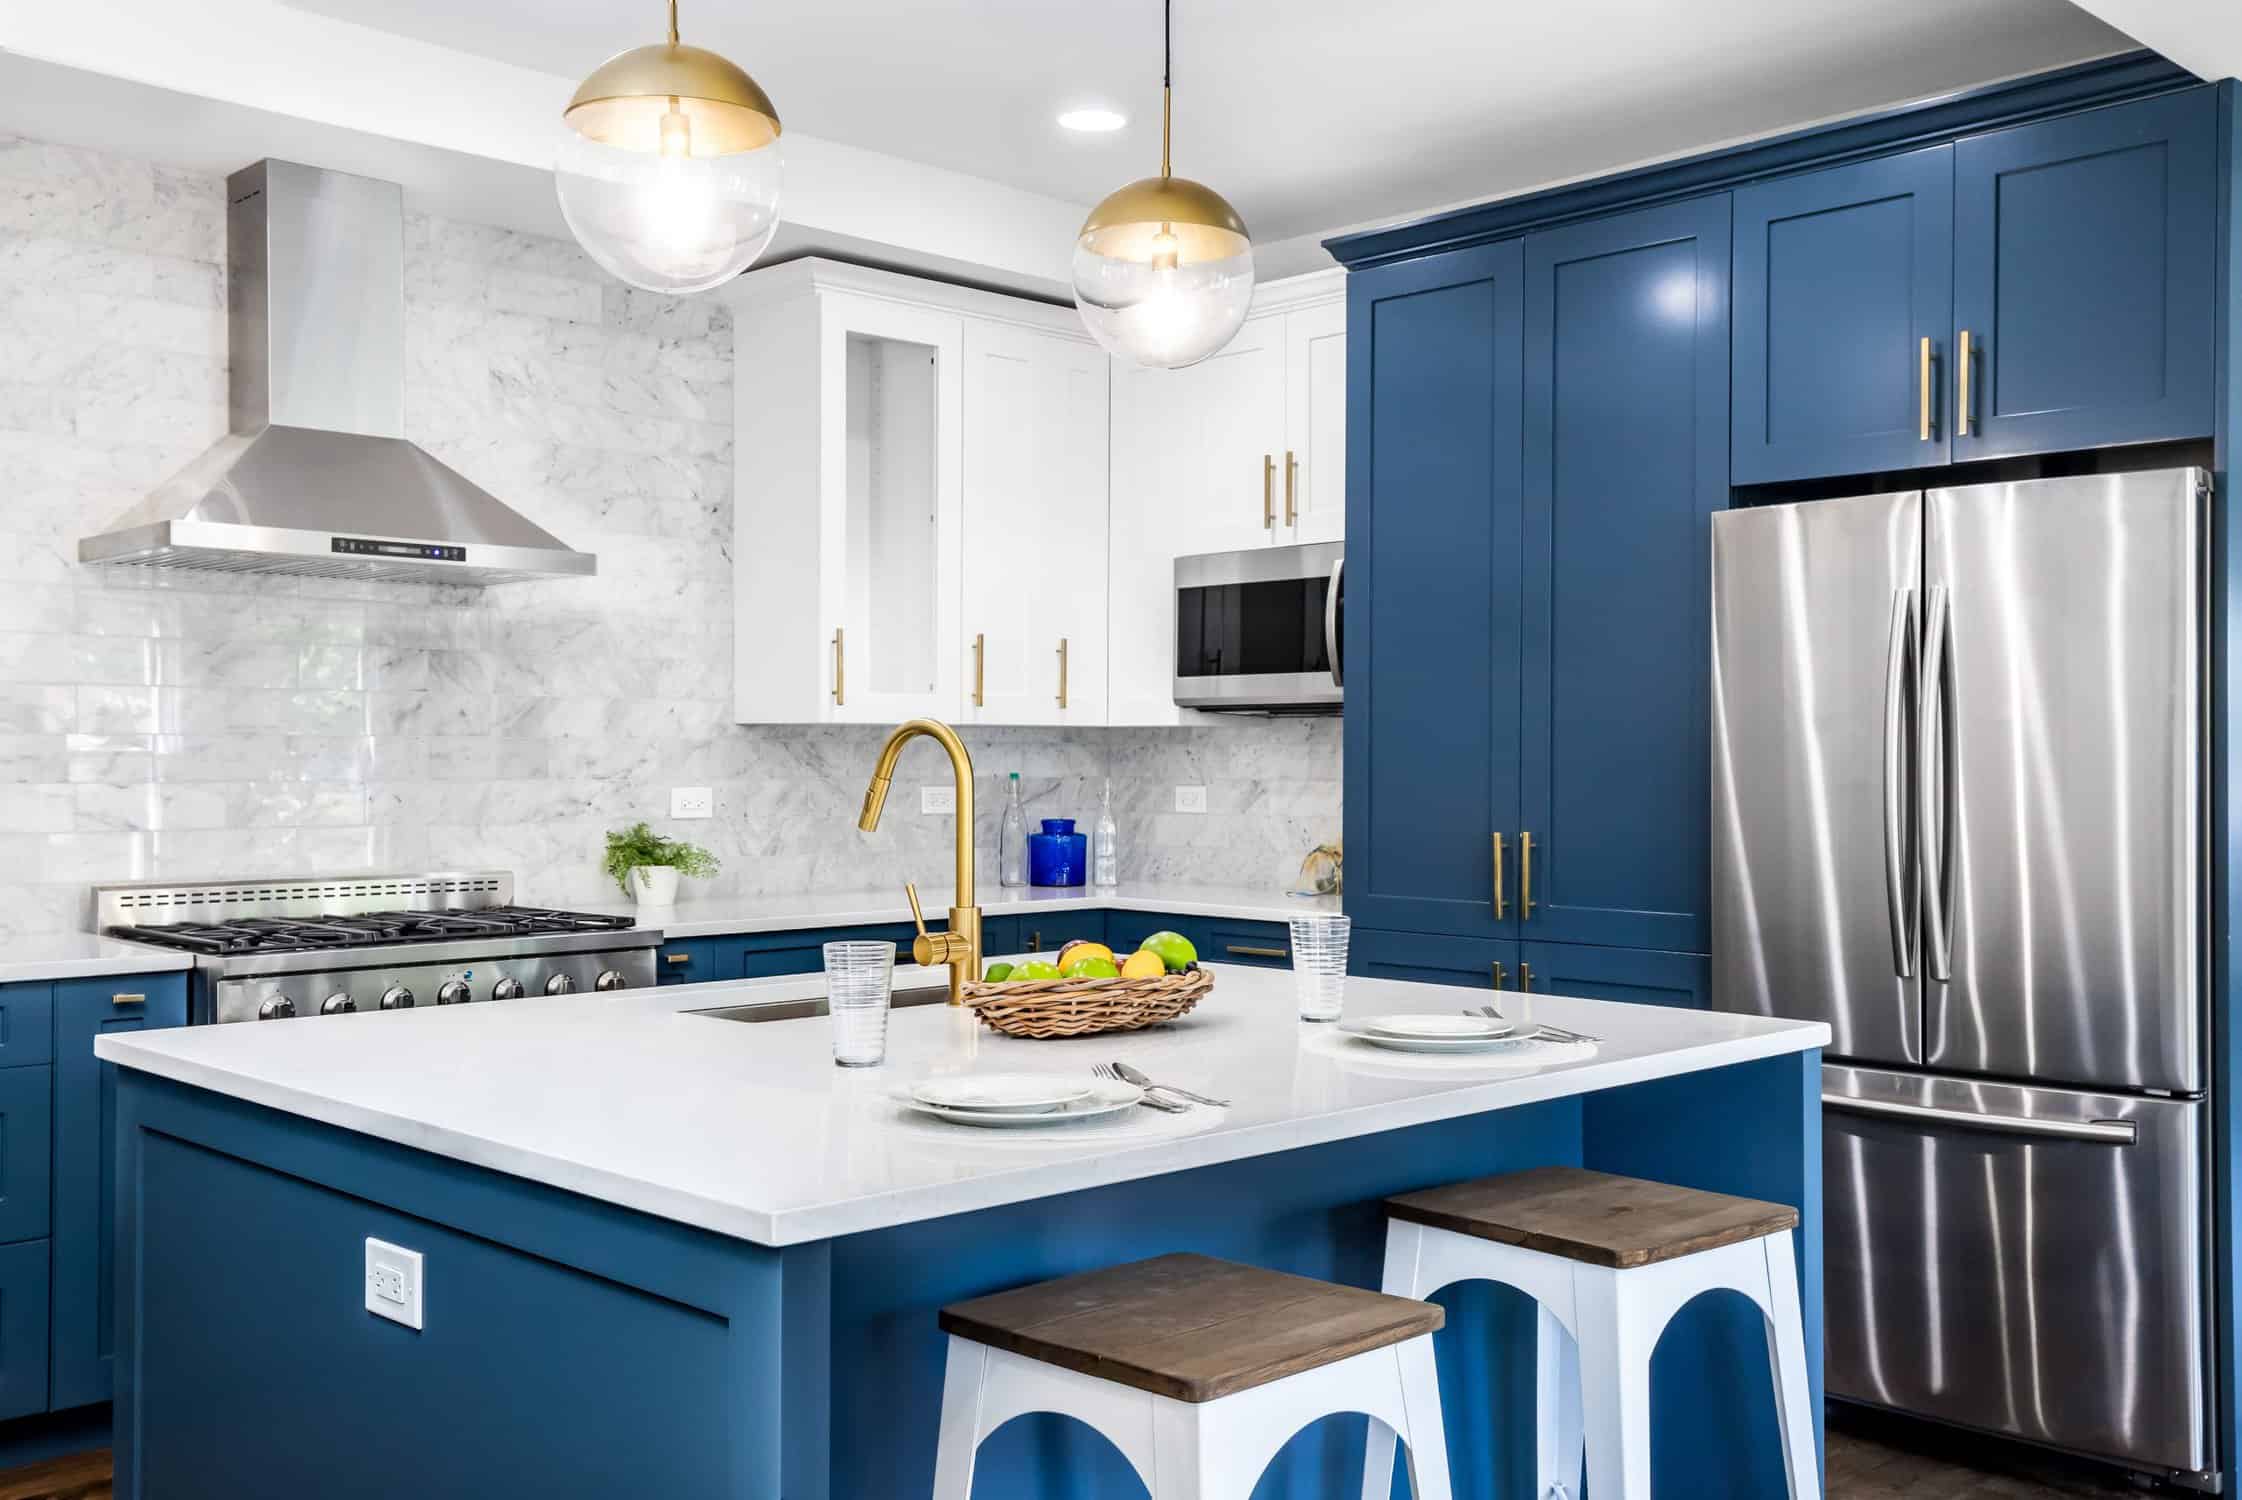
A luxurious white and blue kitchen with gold hardware, stainless steel appliances, and white marbled granite counter tops.
Using the Wrong Color
Even a slight color mismatch can make a touch-up stand out. Always test the paint in a hidden spot first to ensure it blends with your existing painted cabinets under different lighting conditions.
Applying Too Much Paint at Once
Thick layers can leave noticeable patches, raised areas, or streaks. Instead, apply thin coats, letting each layer dry before adding more. This helps create a smooth, even finish.
Skipping the Prep Work
Dirt, grease, and residue can prevent touch-up paint from adhering properly. Always clean the area first with a mild soap and damp cloth before painting. Skipping this step can lead to peeling or uneven coverage.
Forgetting to Seal the Repair
Unsealed painted cabinet touch-ups fade faster and may peel over time, especially in high-use areas like kitchens. For lasting results, apply a clear topcoat or sealant to protect the repair and keep it looking fresh.
When to Call a Professional Instead of Using a Touch-Up Kit
Touch-ups work for minor scratches and chips, but some damage requires more than a simple repair. If you notice large areas of peeling or discoloration, a touch-up won’t hold up. Cracking or lifting paint often means the base coat is failing, and spot repairs won’t solve the problem. If multiple touch-ups have left your painted cabinets looking patchy or uneven, it may be time for a more thorough solution.
Why Hire a Professional?
A professional ensures precise color matching for a seamless finish, eliminating any visible repair marks. Expert techniques, including spray applications and high-quality primers, create a smooth, durable finish that lasts. Plus, professional-grade topcoats add an extra layer of protection, preventing future wear.
Conclusion
Touch-up kits are a practical solution for minor imperfections on painted cabinets, but they have their limits. Using the right kit and applying it correctly can make small scratches and chips nearly invisible. However, for widespread wear, peeling, or an uneven finish, a professional refinishing service is the best way to restore durability and a seamless look.
Need expert help? Contact us today for a flawless, long-lasting cabinet finish!