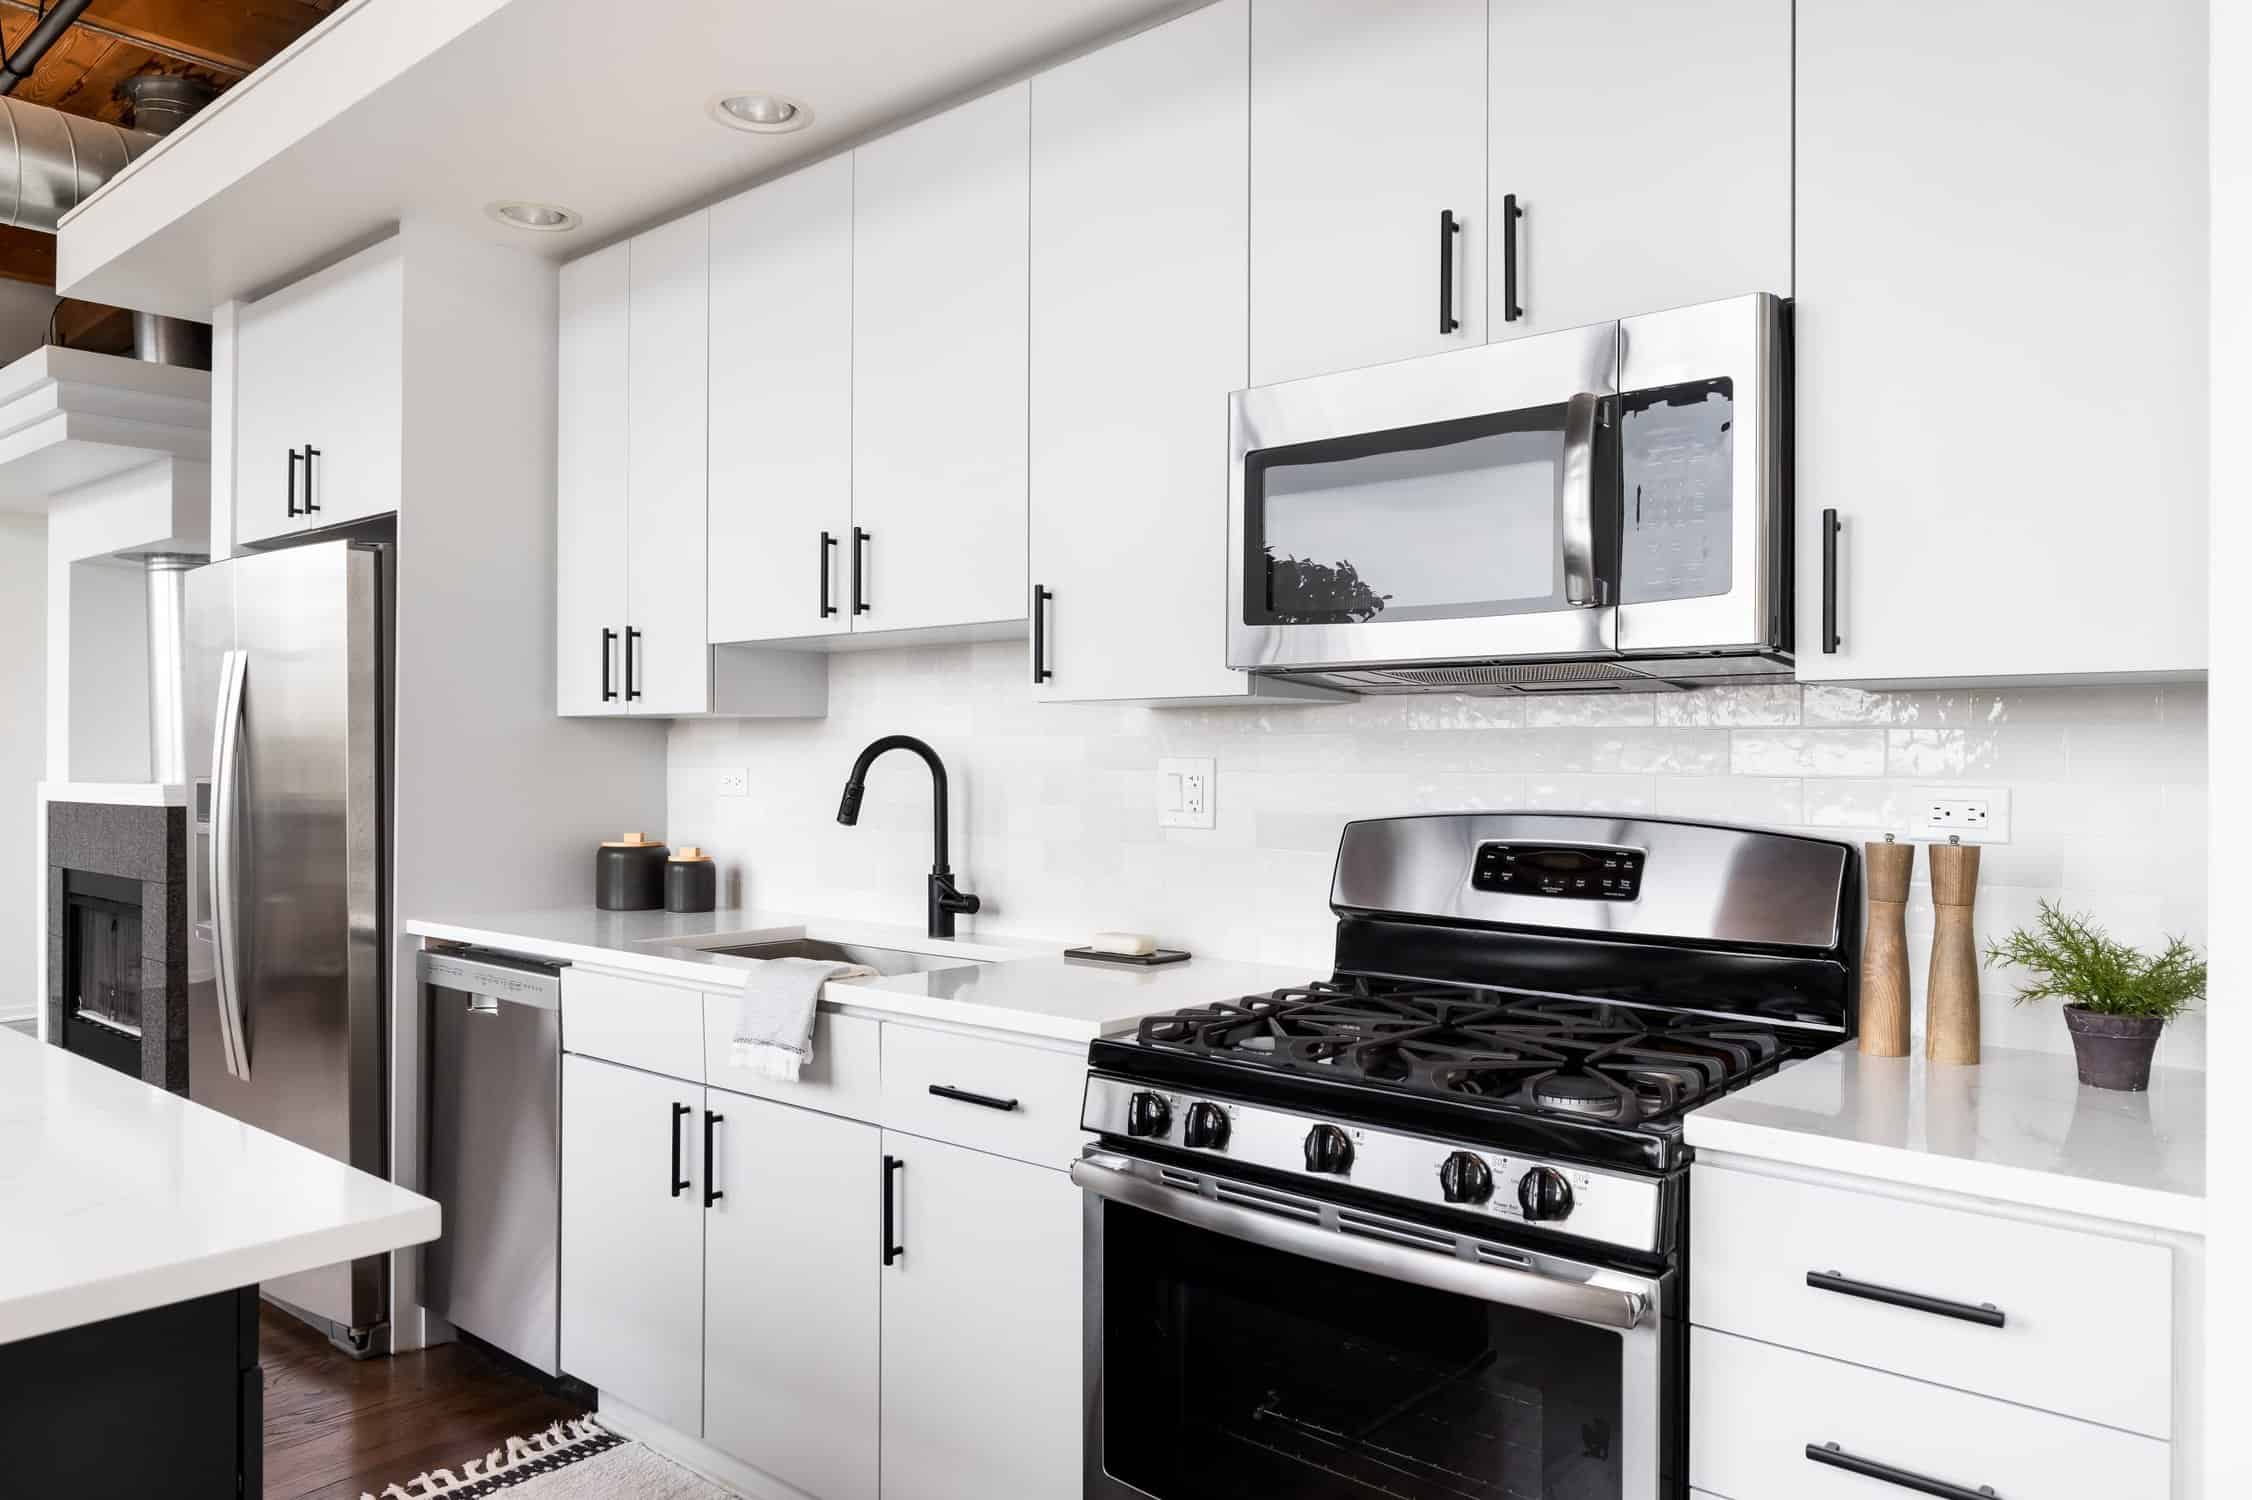
Painting cabinets can instantly transform a kitchen or bathroom, giving them a fresh, modern look. But achieving a smooth, streak-free finish is one of the biggest challenges DIY painters face. Whether you’re using a brush, roller, or sprayer, improper technique can leave you with visible brush marks, roller texture, or an uneven spray pattern that ruins the final look.
So, how do professionals get that perfect, factory-like finish? It all comes down to the right tools, proper preparation, and correct application techniques. In this guide, we’ll walk you through the best ways to prevent brush strokes and uneven spray patterns, ensuring your cabinet painting project looks professionally done.
Why Do Brush Strokes and Uneven Spray Patterns Happen?

Before we dive into solutions, let’s talk about why these issues happen in the first place. Understanding what causes them will help you avoid common mistakes and improve your painting technique.
Common Causes of Brush Strokes
- Using the wrong brush – Low-quality brushes have stiff, uneven bristles that create visible streaks.
- Applying paint too thickly – A heavy-handed application leads to noticeable texture and ridges.
- Overworking the paint – Brushing over drying paint causes drag marks and uneven strokes.
- Skipping sanding – A rough surface or glossy finish prevents smooth paint flow.
- Not using the right paint additive – Paint that dries too quickly doesn’t have time to self-level, leaving visible brush marks.
Common Causes of Uneven Spray Patterns
- Incorrect spray gun settings – Too much or too little pressure results in blotchy or streaky coverage.
- Holding the sprayer too close or too far – Too close creates heavy spots; too far leads to uneven coverage.
- Inconsistent hand movement – Stopping or hesitating mid-pass results in uneven spray application.
- Using the wrong nozzle size – Nozzles that don’t match the paint thickness affect the spray pattern.
Now that you know why these issues happen, let’s go over the best techniques and tools to prevent them.
Choosing the Right Tools and Materials
Not all brushes and rollers are created equal—the wrong tool can leave visible brush strokes, roller texture, or an uneven finish on your cabinets. Using high-quality applicators is the first step in achieving a professional, factory-like result.
Best Brushes for Cabinets
A well-chosen brush minimizes brush strokes while providing smooth, even coverage.
- High-Quality Synthetic Brushes – A 2.5-inch angled brush (like Purdy, Wooster, or Corona) is ideal for cutting in corners and detailed areas while keeping streaks to a minimum. Look for brushes with soft, tapered bristles that release paint smoothly and help it self-level.
- Flag-Tipped Brushes – These are designed to hold more paint and distribute it evenly, preventing excess drag that leads to streaks.
Pro Tip: To further reduce brush strokes, add a paint conditioner like Floetrol (for latex paint) or Penetrol (for oil-based paint). These slow down drying time, allowing the paint to self-level before it sets.
Best Rollers for Cabinets
For larger, flat cabinet surfaces, foam rollers provide the smoothest possible finish without leaving roller marks.
- High-Density Foam Rollers – These create a factory-like look with no nap texture, making them perfect for doors and drawer fronts. Look for brands like Whizz, Pro Grade, or Wooster.
- Velour Mini Rollers (¼-inch nap) – If using a nap roller, go for extra-short nap (¼-inch or less) to prevent stippling while still ensuring even paint distribution.
Avoid: Thick nap rollers, as they can leave a textured, stippled finish that makes cabinets look uneven.
Best Sprayers for a Factory-Smooth Cabinet Finish
If you’re aiming for a completely brush-stroke-free finish, a paint sprayer is your best option. However, choosing the right sprayer and technique is critical to preventing uneven spray patterns, drips, or blotchy coverage.
HVLP (High Volume Low Pressure) Sprayers
- Offers excellent control and a fine mist, reducing overspray.
- Best for detailed work and smaller projects.
- Brands like Fuji, Wagner Flexio, and Graco TrueCoat are solid choices.
Airless Sprayers
- Great for large projects but require precise pressure adjustments to avoid heavy application.
- Ideal for high-volume work but can be harder to control for beginners.
- Look for models with adjustable pressure settings, such as Graco Magnum X5 or Titan ControlMax 1700.
Pro Tip: If using a sprayer, practice on cardboard or scrap wood first to perfect your spray pattern. Always hold the sprayer 8-12 inches away from the surface, and move in smooth, overlapping passes to ensure even coverage.
Brush, Roller, or Sprayer? Which One Should You Use?
- For a DIY-friendly approach: A foam roller and high-quality brush combination provides excellent results with minimal brush strokes.
- For the smoothest finish possible: A paint sprayer delivers a completely streak-free, professional look, but requires more setup and technique.
Whichever tool you choose, your painting technique matters just as much as the applicator itself. Now, let’s move on to preparation—because even the best brush or sprayer won’t save you if the surface isn’t properly prepped.
Prepping Cabinets for a Smooth Finish
Step 1: Deep Clean and Degrease to Prevent Adhesion Issues
Cabinets—especially in kitchens—are coated with grease, cooking residue, and fingerprints that can prevent paint from bonding properly. Skipping this step increases the risk of brush strokes, peeling, and uneven coverage.
How to Properly Clean Cabinets Before Painting:
- Use TSP (Trisodium Phosphate) or a strong degreasing cleaner like Krud Kutter to break down grease and oils.
- Scrub all surfaces—doors, drawers, and frames—with a sponge or microfiber cloth to remove invisible grime.
- Rinse with clean water and let cabinets dry completely before moving on to sanding.
Pro Tip: Avoid using dish soap—it can leave a residue that affects paint adhesion.
Step 2: Sand to Remove Gloss and Prevent Brush Strokes
Sanding is one of the most critical steps to achieving a smooth, professional-looking finish. It removes the glossy topcoat, allowing the paint to grip the surface properly. Skipping or rushing this step leads to visible brush strokes, roller marks, and an uneven finish.
Best Sanding Techniques for Cabinets:
- Use 220–320 grit sandpaper to lightly sand all surfaces, including edges and corners.
- If cabinets have an extra glossy or laminate finish, apply a liquid deglosser (like Klean-Strip or Jasco) before sanding to break down the slick coating.
- Wipe away dust with a tack cloth or damp microfiber cloth before moving on to priming.
Pro Tip: A sanding sponge is great for detailed areas like beveled edges and raised panel doors.
Step 3: Prime for a Flawless, Streak-Free Paint Application
Skipping primer is one of the biggest DIY mistakes—without it, paint can streak, peel, or absorb unevenly, leading to visible brush strokes or spray patterns. A high-quality primer creates a smooth base, seals the surface, and ensures long-term durability.
Best Primers for Cabinets (Based on Surface Type):
For Glossy or Factory-Finished Cabinets:
- Shellac-Based Primer (BIN Shellac) – Dries ultra-fast and sticks to even the slickest surfaces. Perfect for laminate or varnished wood.
For Maximum Durability:
- Oil-Based Primer (Zinsser Cover Stain) – Provides a smooth, strong base, but requires longer drying time and ventilation.
For General Cabinet Surfaces (Laminate, Wood, MDF):
- Bonding Primer (Stix, Kilz Adhesion) – Specially designed to grip non-porous surfaces and prevent peeling or chipping.
How to Apply Primer for Best Results:
✔ Use a foam roller for flat surfaces to prevent texture.
✔ Use a high-quality angled brush for edges and detailed areas.
✔ Apply thin, even coats and let primer dry fully before painting (4–24 hours, depending on the type).
✔ Lightly sand the primer with 320-grit sandpaper before applying the first coat of paint.
Pro Tip: If you see visible brush strokes in the primer, sand them down before applying paint to avoid texture buildup.
By properly cleaning, sanding, and priming your cabinets, you’re setting yourself up for a flawless, factory-quality finish—with no brush strokes, roller marks, or uneven spray patterns. Now, let’s talk about the best painting techniques to achieve a professional look.
Techniques for Preventing Brush Strokes
How to Apply Paint with a Brush Like a Pro
- Use long, even strokes – Apply paint in one smooth motion rather than short, choppy brush strokes.
- Don’t overload the brush – Too much paint on the brush leads to thick, uneven application.
- Feather out edges – Lightly dragging the brush at the end of a stroke helps blend the paint seamlessly.
- Use paint conditioner – Adding Floetrol (for latex) or Penetrol (for oil-based paint) helps the paint flow smoothly and self-level.
When to Use a Foam Roller Instead
- Foam rollers are perfect for large, flat cabinet surfaces because they apply paint evenly without leaving marks.
- Apply light pressure—pressing too hard can create texture.
Techniques for Achieving an Even Spray Pattern
Proper Spray Gun Setup and Technique
- Set the correct pressure – Too high causes overspray, too low leads to blotchy coverage.
- Hold the sprayer 8-12 inches away – This prevents pooling and uneven distribution.
- Move in consistent, overlapping passes – Start each pass before reaching the cabinet edge and overlap each row by 50%.
Common Spraying Mistakes to Avoid
- Spraying too much paint at once – Leads to drips and uneven buildup.
- Not overlapping passes – Results in patchy areas and inconsistent sheen.
- Using the wrong spray tip size – A smaller tip works better for thin coatings, while thicker paints need a larger nozzle.
If you’re new to spraying, practice on a piece of cardboard first to get comfortable with the settings and motion.
Finishing Touches for a Flawless Look
Sanding Between Coats for a Professional Finish
Once the first coat is dry, lightly sand with 320-400 grit sandpaper before applying the next coat. This smooths out any minor texture and ensures a perfect final layer.
Sealing Cabinets for Long-Term Durability
To protect the finish, apply a clear topcoat like polyurethane or polycrylic.
- Polycrylic (water-based) – Won’t yellow over time, ideal for light-colored cabinets.
- Oil-based polyurethane – Provides a durable finish but can slightly yellow.
- Apply with a foam roller or sprayer for a streak-free look.
When to Call a Professional for Help
While DIY cabinet painting can save money, it also comes with challenges. If you’re struggling with visible brush strokes or uneven spray patterns despite following all the right steps, it might be time to call a professional.
Signs You May Need a Pro:
- Persistent streaks, texture, or uneven spray marks that won’t go away.
- Complicated cabinet designs that make it hard to paint smoothly.
- Lack of proper equipment, such as a high-quality sprayer.
At Sharper Impressions Orlando, we specialize in flawless, professional cabinet refinishing. Whether you want to prevent brush strokes or uneven spray pattern , we have the skills and tools to get it right.
Contact Sharper Impressions Orlando today for a free estimate and let us bring your cabinets to life with a professional finish!